Sump Heater Wattage Calculator
Size aquarium sump heater wattage from true system volume, room temperature, target temperature, heat loss class, sump location, lid status, redundancy, and recovery time.
📏System volume
Use actual water volume after rock, sand, equipment, and operating sump level.
🌡Temperature, sump exposure, and redundancy
Shorter recovery times require more installed wattage.
Calculation breakdown
⚙Heat loss class quick specs
📊Reference tables
| Heat loss class | Typical system | Base factor | Use when |
|---|---|---|---|
| Low loss | Covered display and cabinet sump | 0.28 W/gal/°F | Room stays near target and evaporation is low |
| Normal loss | Most indoor sump systems | 0.36 W/gal/°F | Living room or office with normal open areas |
| High loss | Open top or drafty room | 0.48 W/gal/°F | Noticeable evaporation or night temperature dips |
| Very high loss | Remote sump or cool utility room | 0.62 W/gal/°F | Sump is separated from the display area |
| Extreme loss | Basement, garage-like, or big swings | 0.78 W/gal/°F | Cold nights are the design condition |
| Frag system | Shallow trays and high surface area | 0.68 W/gal/°F | Low water depth increases surface heat loss |
| Sump location | Multiplier | Why it changes watts | Typical heater note |
|---|---|---|---|
| Rear chamber or AIO sump | 0.95x | Small enclosed water path shares display warmth | Short heaters or compact titanium units |
| Inside aquarium cabinet | 1.00x | Cabinet buffers drafts but still vents humidity | Two smaller heaters fit most sumps |
| Open stand below display | 1.08x | More air movement around sump glass or acrylic | Keep heaters in a constant-depth chamber |
| Nearby fish room | 1.15x | Room can run cooler than the display area | Use a controller probe downstream |
| Basement or remote sump | 1.28x | Long plumbing and cooler ambient air add loss | Split wattage across multiple heaters |
| Cool garage or utility room | 1.45x | Large room swings and cold surfaces dominate | Size for the coldest stable ambient |
| Common system | Volume used | Typical room to target | Typical installed watts |
|---|---|---|---|
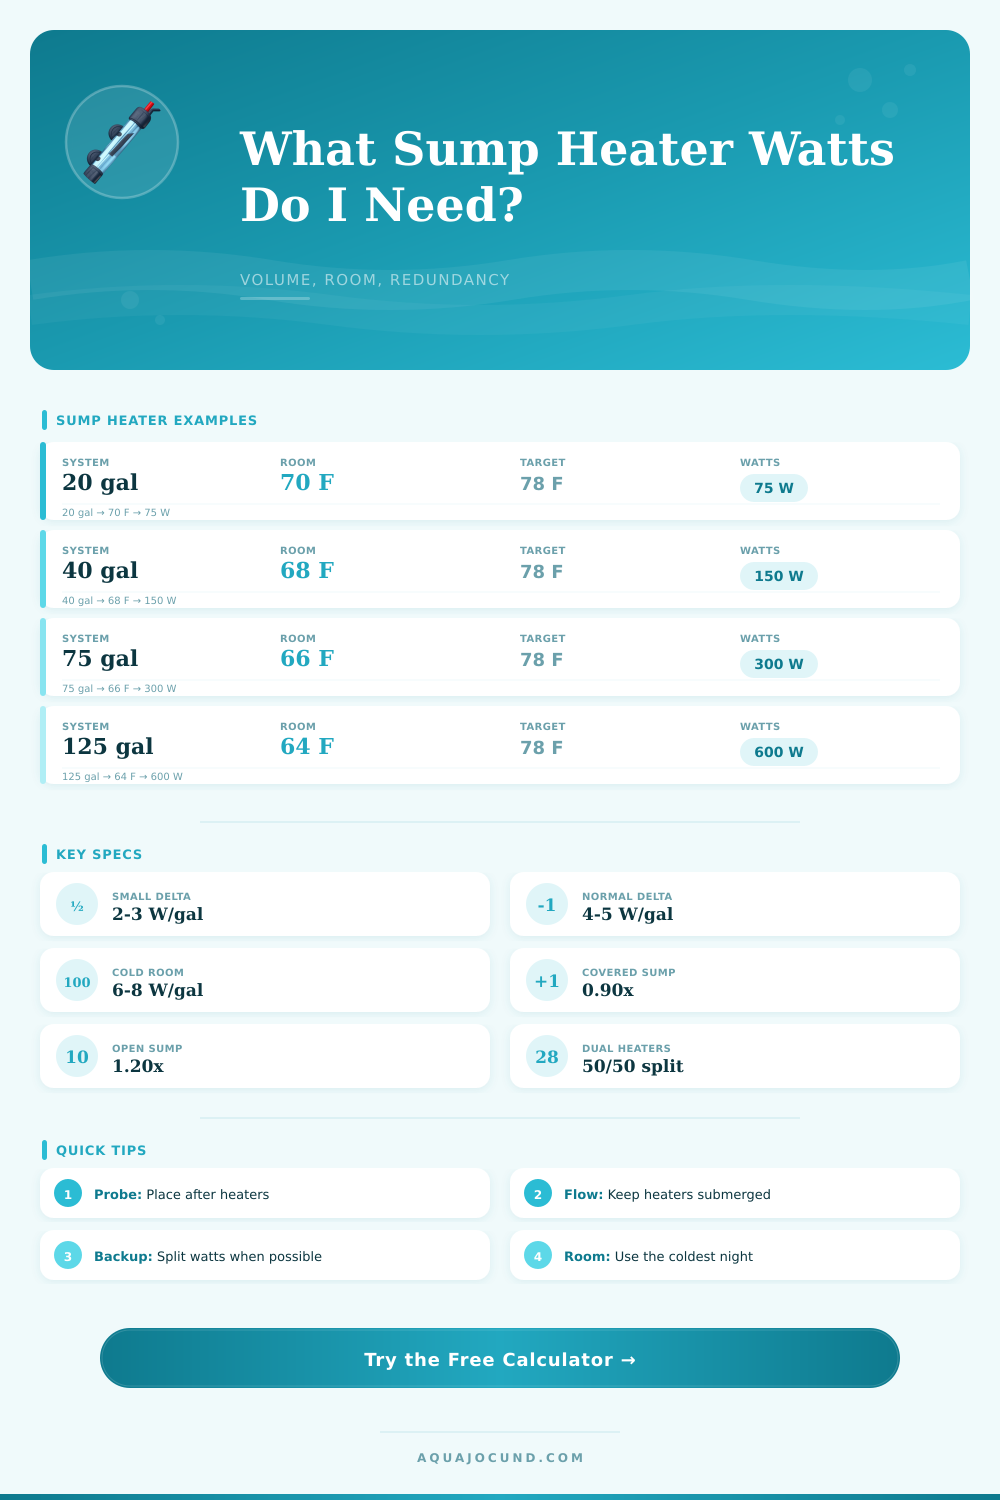
| 10 gal nano with rear chamber | 8 to 10 gal / 30 to 38 L | 70 to 78°F / 21 to 26°C | 50 W |
| 20 long with small sump | 24 to 28 gal / 91 to 106 L | 68 to 78°F / 20 to 26°C | 100 to 150 W |
| 40 breeder reef | 45 to 55 gal / 170 to 208 L | 68 to 78°F / 20 to 26°C | 200 to 250 W |
| 75 gal reef with sump | 80 to 95 gal / 303 to 360 L | 66 to 78°F / 19 to 26°C | 300 to 400 W |
| 120 gal display with sump | 130 to 155 gal / 492 to 587 L | 64 to 78°F / 18 to 26°C | 500 to 700 W |
| 180 gal remote sump | 190 to 230 gal / 719 to 871 L | 62 to 78°F / 17 to 26°C | 900 to 1200 W |
| Heater placement plan | Redundancy behavior | Best sump chamber | Controller probe position |
|---|---|---|---|
| Single heater | No backup if it fails off; high risk if it sticks on | Constant-depth skimmer or return chamber | Downstream but before return pump intake |
| Two heaters, 50/50 split | One failure off leaves partial heat and slower cooling | Separate high-flow chambers if possible | After both heaters mix into return flow |
| Two heaters, one can limp system | Each heater carries about 70% of required watts | Opposite ends of the sump flow path | Common return section after mixing |
| Three heaters, even split | Lower stuck-on risk per heater; two still heat well | Spread across baffle path and return area | After the last heated chamber |
| Three heaters, N+1 reserve | Any two heaters can cover the calculated load | High-flow sections with stable water level | Controller plus independent thermometer check |
| Inline return heater | Good heat transfer but return pump dependent | Plumbed after filtration and before display return | In display overflow or sump return section |
💡Sump heater sizing tips
A sump doesn’t just “go into a cabinet” where it gets warm. Sumps can loses heat due to conduction and evaporation. They also loses heat through radiation from open surfaces. Guessing at wattage risks heat stress on your livestock. What happens when it’s cold outside, and your system never reaches the set point? Protect your wallet. More importantly, protect your corals.
Get the math right. This is where the math gets tricky. That’s what the above calculator does. It takes into account tank volume, insulation level, and ambient temperature all at once. It also asks you for the actual amount of water in the tank instead of the tank size. Water displace other things like rock and sand. A seventy-five gallon display might only have about sixty gallons of water to heat up. Entering the smaller figure helps to avoid getting heaters that are more larger.
Why You Need the Right Heater Size
Oversized heaters is on and off way too often, which will wear parts out quicker. The equation changes by location. If you are using a cabinet with a closed sump, it traps the heat. It also has less airflow. That same sump on an open stand lose more heat to draftiness. And it’s subject to cool spots right at ground level. This scenario gets multipliers from the tool so you can visualize where the exposure alters things.
And it takes into account the state of lid too. A covered display greatly diminishes evaporation, which is a huge cooling factor. An open top lets it in. Don’t forget about redundancy when planning. Having two heaters at half capacity is better than having one big heater. What happens if the single heater doesn’t shut down? Dead tank. What happens if it doesn’t come on? The water cools gradualy. If each heater only has half the load, then either will prevent a crash while you wait for parts. That’s what gives you time.
The redundancy function of the calculator allows you to specify how much redundancy you want. It also modify the watts-per-heater accordingly. Redundancy isn’t wasteful; it’s efficient and safe. How long does it take for the system to recover? This matters more then you think. During a power outage, the quicker your heater can turn back on and begin recovering, the better. If you had a door open during the night, then there’s lost heat too. The higher the peak wattage, the faster it recovers. Because there is less time to make up a temperature difference, faster recovery require higher peak wattage. This means that the tool will account for how quickly you want it to recover.
How much additional power would of be required to close this gap? What are some common increments? It rounds up to these increments. Buy off-the-shelf heaters that already exist. These factors are tied by heat loss class. How does it work? It’s an estimate of how fast (or slow) your system loses heat. Insulated tanks in covered rooms result in low loss. An open top display in a cool house means high loss. Those factors is explained in the reference table on the page.
Want to see the base line coefficients? That illustrates why a sump in a garage requires almost twice the power as one in a living room; even if both setups are identical volumes. That leaves placement strategy for the final piece. Steady water flow is ideal for heaters. Consistent water levels are a must as well. Don’t put them in air-intake skimmer chambers, as this will cause water levels to fluctuate. Don’t put them in places subject to sediment build up.
Typically, a titanium heater located in the return chamber provide the best balance between efficiency and safety. All other heating elements should be downstream from the location of the probe so it can read the mixed temperature of the water. If it reads before mixing, it gets confused by local hot spots. Plan honestly for the cold with what you know about where you live. Know your worst scenario, which is the coldest overnight air temp. Don’t base this on average daytime reading. And remember that tanks retain heat fairly well. Without enough power, they will lose to persistent cold drafts and are fighting a losing battle. Size for the worst case so you can maintain stability when it matters most.
That little bit of extra wattage is the difference between a stable tank and a frantic January rescue mission. Begin with honest room temperature data and accurate volume measurements. Use the tool to do the math for you. Quiet, reliable, properly sized heaters are not something you fight with. They maintain a stable environment, allow you to enjoy your reef, and let you concentrate on redundancy and placement. Technology fades into the background as you enjoy the invisible performance of proper equipement.