Rotifer Culture Density Calculator
Estimate live rotifer inventory, safe harvest yield, daily feed volume, larval tank dosing, and starter volume for split cultures from counted density.
Calculation breakdown
| Culture profile | Working density | Harvest guide | Feed ration basis | Planning use |
|---|---|---|---|---|
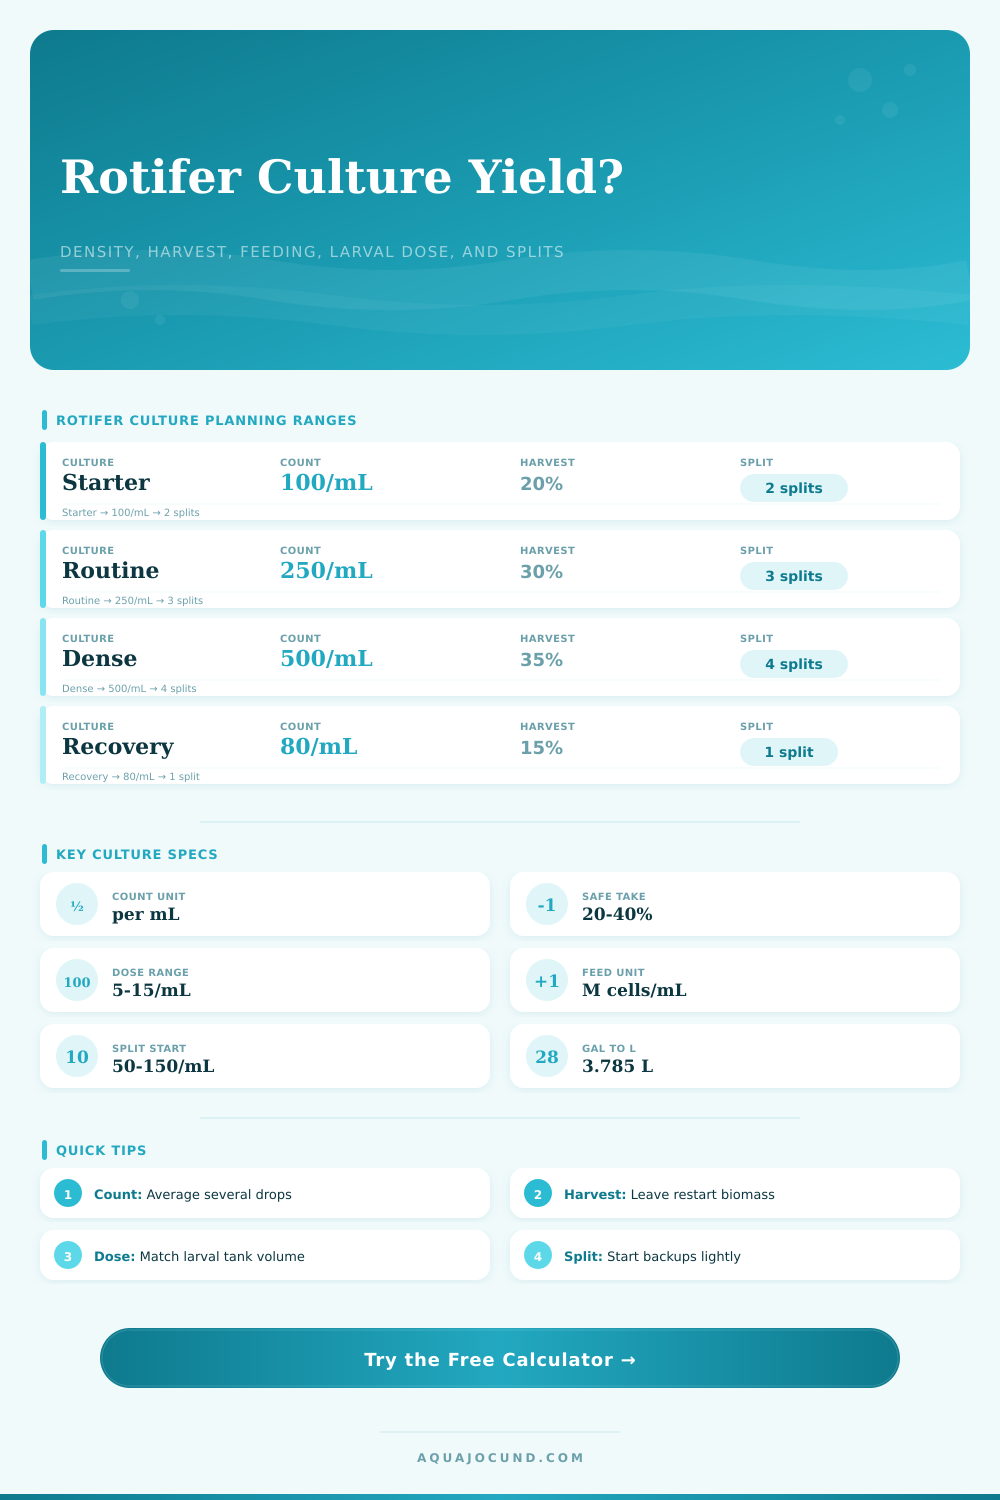
| Starter or restart culture | 50 to 150 per mL | 15% to 25% | 120,000 cells per rotifer daily | Rebuild biomass before larger harvests. |
| Routine production culture | 150 to 400 per mL | 25% to 35% | 150,000 cells per rotifer daily | General larval feeding and backup splitting. |
| Dense production culture | 400 to 800 per mL | 30% to 40% | 170,000 cells per rotifer daily | High output cultures with frequent counting. |
| Small SS-type rotifers | 250 to 900 per mL | 25% to 40% | 120,000 cells per rotifer daily | Small prey windows and higher numerical density. |
| S-type rotifers | 200 to 700 per mL | 25% to 38% | 150,000 cells per rotifer daily | Common small marine larval feed planning. |
| L-type rotifers | 100 to 500 per mL | 20% to 35% | 180,000 cells per rotifer daily | Larger rotifer cultures with lower count density. |
| Holding culture | 50 to 250 per mL | 10% to 25% | 100,000 cells per rotifer daily | Low output maintenance and backup inventory. |
| Recovery culture | 20 to 120 per mL | 5% to 15% | 90,000 cells per rotifer daily | Conservative harvest after a density drop. |
| Culture vessel | Working volume | Count per mL | 30% harvest yield | Larval dose supported |
|---|---|---|---|---|
| 1 quart bottle | 0.8 L / 0.21 gal | 120 per mL | 28,800 rotifers | 3.6 L at 8 per mL |
| 2 L bench bottle | 1.6 L / 0.42 gal | 200 per mL | 96,000 rotifers | 12 L at 8 per mL |
| 1 gal jar | 3.0 L / 0.79 gal | 250 per mL | 225,000 rotifers | 28 L at 8 per mL |
| 5 gal bucket | 15 L / 4.0 gal | 300 per mL | 1.35 million rotifers | 169 L at 8 per mL |
| 10 gal tub | 30 L / 7.9 gal | 350 per mL | 3.15 million rotifers | 394 L at 8 per mL |
| Dose target | Rotifers needed per liter | 10 gal larval tank | 20 L larval tank | Use in calculator |
|---|---|---|---|---|
| Light prey field | 3,000 to 5,000 | 114,000 to 189,000 | 60,000 to 100,000 | Early check or low demand larvae. |
| Routine first feeds | 6,000 to 10,000 | 227,000 to 379,000 | 120,000 to 200,000 | Common daily planning range. |
| High prey field | 12,000 to 15,000 | 454,000 to 568,000 | 240,000 to 300,000 | Short windows with heavy grazing. |
| Maintenance top-up | 1,000 to 3,000 | 38,000 to 114,000 | 20,000 to 60,000 | Used after live counts confirm prey remains. |
| Split goal | Restart density | Starter share | Harvest pressure | Best calculation check |
|---|---|---|---|---|
| Backup bottle | 30 to 60 per mL | Small | Low | Confirm starter volume stays below reserve. |
| Routine duplicate | 60 to 120 per mL | Medium | Moderate | Compare starter demand to remaining rotifers. |
| Production split | 100 to 180 per mL | High | High | Check both feed volume and main reserve. |
| Recovery split | 20 to 50 per mL | Low | Very low | Keep harvest percentage conservative. |
The first time you attempt to feed newly hatched clownfish larvae, it feel like a lot is riding on it. There is a tray full of open mouth waiting for their first meal, perhaps the one that will make or break the whole batch. Do you have enough rotifers? How many do you have? What does “enough” mean? Well this calculator bridges that uncertainty gap. It transforms a vague idea about quality into a solid split/feeding/harvest plan.
Culturing rotifers is a black box for most hobbyist. Culturing rotifers means putting some algae in, waiting, and hoping for something to come out. Running a successful larval culture relies on managing the culture as an inventory system. Before moving anything, you want to know exactly how much biomass are there. How many do I realy have?
How to Use the Rotifer Calculator
The calculator allows you to run the math based off the density you counted and the size of the container where the culturing is occurring. You no longer has to guess the density by eye. It’s one number you enter, how many are there per milliliter. That’s it. One number that drives all the others on the page.
The trickiest step is counting carefully. Rotifers hide under bubbles; some swim upward while others sink downward. Dip down from above with a pipette, and you’re probably going to overcount. That variation are important. The tool asks you to gently mix and then average multiple dips, which makes sense.
Even though both may appear cloudy, 300 rotifers/ml in a 5-gallon bucket is a stronger advantage then 150; it’s equivalent to about twice as much rotifer goodness. That concentration converts into a number of rotifer that the calculator says are harvestable without wrecking the culture. In other words, it tells you how many rotifers you can safely remove.
A rookie mistake is taking out too much. Remember, you need some parent stock to continue reproduction. Enter the reserve percentage (typically 20-30% is fine). It will calculate how many doses of larvae this harvest will support based on your desired density and tank volume.
So, if you have a 10 gallon tank and you’re shooting for 10 rotifers/mL, does your bucket contain enough food for that? Do you have what you think you do or not? It makes you face that question before you dose. Remember: To feed the fish is also to feed the rotifers!
You should provides a constant food for your rotifers using microalgae (typically Chlorella or Nannochloropsis). The calculator takes into account your feed ration, i.e., how many algal cells a single rotifer require per day. Feed too little and your rotifers will starve, decreasing in quality and stunting the larvae. Feed too much and water quality crash, killing off the culture. By telling you what volume of daily feed is required given your population size, the tool will help you find the right balance. A dense culture is an expensive one to keep.
Finally, math also helps avoid catastrophe by dividing cultures. When starting a backup bottle, you want to have just enough starter to get things growing again. The calculator will tell you how much starter to take from your main culture. This amount will give you the level of starter you want. Does taking out that amount of starter put your main culture in the danger zone? Yes, then you’ll be told to back off and wait for more growth or take less. That way you won’t crash both cultures (a chain reaction of failures).
On the page, there’s also this great reference table outlining what normal densities should look like for various culture types: everything from sparse starter cultures to dense production runs. This isn’t a hard rule, but a sanity check. If your calculator tells you that you’ll be harvesting more than half of your culture, then something is probably not right. Did you get your count wrong? Is your culture too young? It won’t tell you whether something’s wrong, but it will give you the data so you can catch yourself.
At its core, culturing rotifers is an exercise in precise management of biological assets. It’s impossible to make things grow with sheer willpower, but you can use data to maximize their growth. Tracking feed, harvest and density changes your approach from hoping that it will work out to actualy engineering for success.
Next time you open a tray full of hungry larvae, you won’t wonder what to do. You’ll know precisely: how many are in there, how much you should of remove, and if you’ll have enough to feed them all. That peace of mind is priceless and more valuable than all the algae in the world.