🪱 Microworm Culture Yield Calculator
Estimate culture tray output, harvest timing, fry ration coverage, age decline, and backup cultures for steady nursery feeding.
| Culture Medium | Peak Yield | Peak Window | Decline After Peak | Best Use |
|---|---|---|---|---|
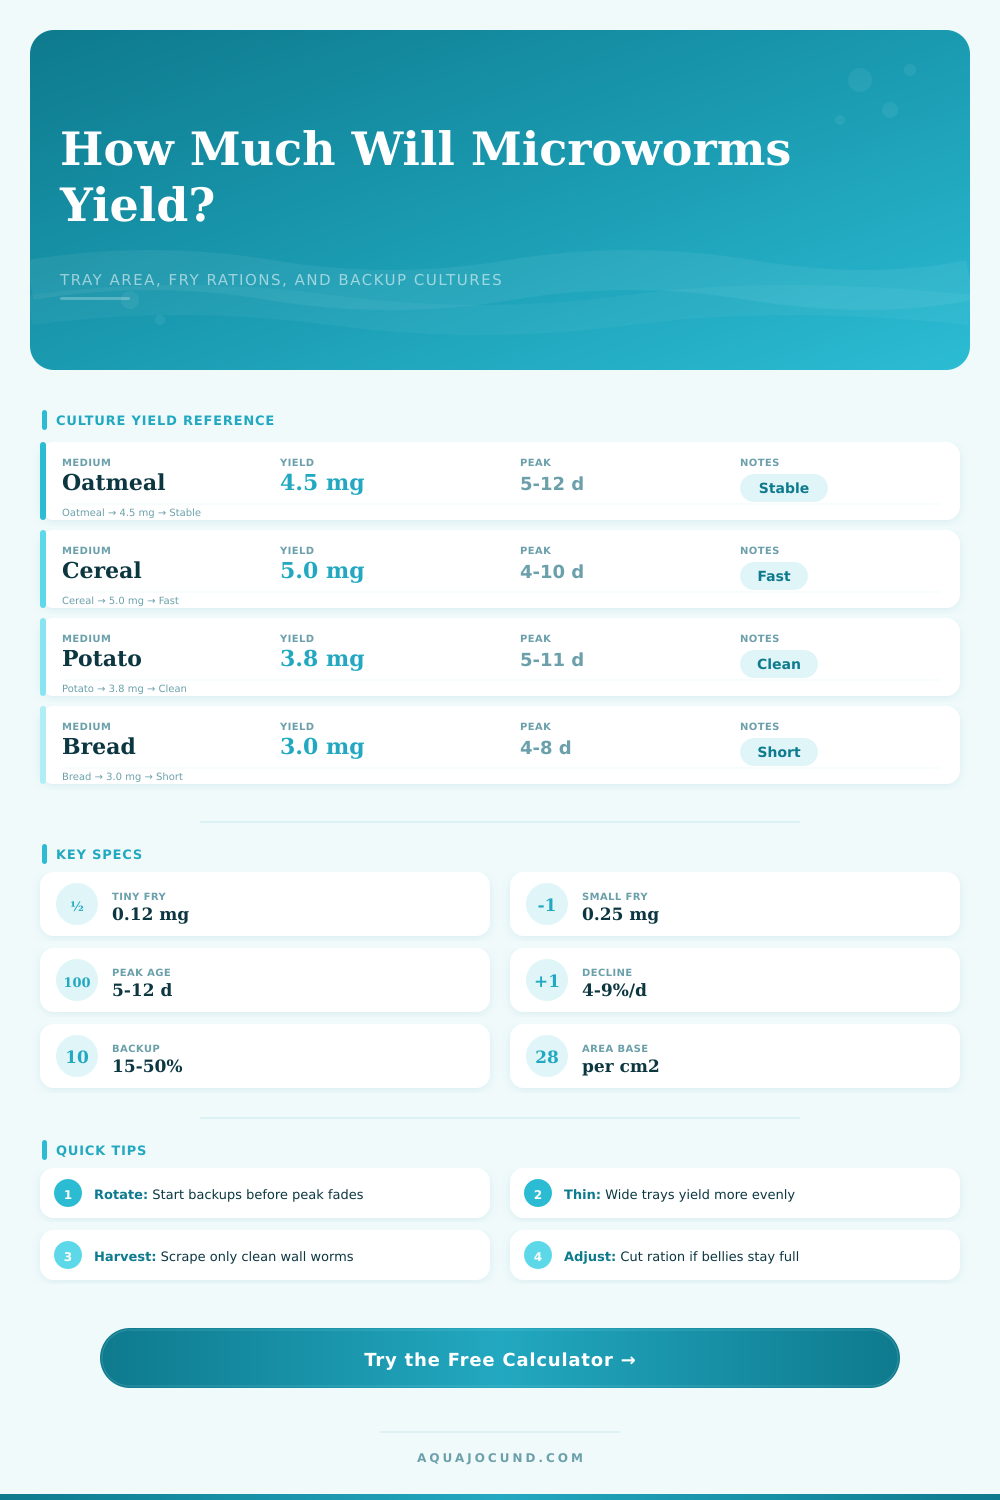
| Cooked oatmeal | 4.5 mg/cm²/day | Day 5 to 12 | About 6% per day | General fry room culture |
| Rice baby cereal | 5.0 mg/cm²/day | Day 4 to 10 | About 8% per day | Fast peak for large spawns |
| Instant potato flakes | 3.8 mg/cm²/day | Day 5 to 11 | About 7% per day | Clean wall harvests |
| Bread and yeast mash | 3.0 mg/cm²/day | Day 4 to 8 | About 9% per day | Short emergency starts |
| Cornmeal porridge | 3.6 mg/cm²/day | Day 6 to 13 | About 5% per day | Slow steady trays |
| Oat bran mash | 4.2 mg/cm²/day | Day 5 to 12 | About 6% per day | Good wall climbing density |
| Prepared culture media | 4.8 mg/cm²/day | Day 5 to 14 | About 5% per day | Predictable batch rotation |
| Low-yeast clean culture | 2.8 mg/cm²/day | Day 6 to 12 | About 4% per day | Small rooms and sensitive tanks |
| Culture Age | Yield Multiplier | Harvest Texture | Rotation Signal |
|---|---|---|---|
| Day 0 to 3 | 0.05 to 0.45 | Starter growth, little wall climb | Do not rely on it for main feeding |
| Day 4 to 5 | 0.65 to 0.90 | First useful scrape | Start light harvesting |
| Day 6 to 10 | 0.95 to 1.00 | Dense wall band | Prime feeding window |
| Day 11 to 14 | 0.75 to 0.95 | Still strong but thinning | Start replacement cultures |
| Day 15 to 21 | 0.35 to 0.75 | Patchy climb, aging medium | Use as backup only |
| After day 21 | 0.10 to 0.35 | Low and inconsistent | Retire or restart |
| Fry Stage | Daily Ration | Feedings | Notes |
|---|---|---|---|
| Tiny larvae, first foods | 0.10 to 0.16 mg/fry/day | 3 to 5 | Dilute the harvest in clean water before pipetting. |
| Small active fry | 0.20 to 0.35 mg/fry/day | 3 to 4 | Good default for betta, cory, and rainbowfish fry. |
| Medium grow-out fry | 0.40 to 0.70 mg/fry/day | 2 to 4 | Use alongside larger foods once fry can take them. |
| Livebearer newborns | 0.25 to 0.45 mg/fry/day | 2 to 4 | They clear bigger portions than many egg-layer larvae. |
| Bottom-feeding fry | 0.20 to 0.40 mg/fry/day | 3 to 4 | Feed where fry gather and remove uneaten residue. |
| Delicate micro fry | 0.05 to 0.12 mg/fry/day | 4 to 5 | Keep portions tiny and watch belly fill closely. |
| Nursery Scale | Typical Tray Area | Active Cultures | Backup Plan |
|---|---|---|---|
| Single small spawn | 80 to 150 cm² | 1 to 2 | Start one backup every 7 to 10 days. |
| Two fry tanks | 200 to 450 cm² | 2 to 3 | Keep one young culture coming up behind peak. |
| Breeder shelf | 500 to 900 cm² | 3 to 5 | Rotate starts twice weekly for steady output. |
| Large spawn week | 900 to 1600 cm² | 5 to 8 | Use staggered ages so all trays do not decline together. |
| Emergency reserve | Any size | At least 1 | Hold a low-harvest backup away from the main rack. |
If you’re raising betta fry in your tank, you’ll notice something at some point. Although water is warm and the tank looks clean and suitable, the fry simply aren’t growing. More often than not it’s because there isn’t enough food available for them.
To feed fry, particularly delicate larval fry, one of the easiest things to breed and small enough for fry to consume are microworms. Unfortunatly, microworm cultures can be unpredictable. Sometimes you’ve got a great culture on day five and nothing but air on day fifteen.
How to Feed Betta Fry with Microworms
That’s why most people begins measuring out their cultures instead of guessing. After entering your number of fries and tray size, the above calculator does all work for you. You don’t need to guess how much each amount will produce.
You’ll have to abandon fuzzy estimates because it requires you to think about surface area (not volume). Newbies often use lots of medium in their tanks/jars, assuming more medium = more food. Wrong! Microworms only inhabit the first millimeter or so of medium and they climbs the sides of whatever they’re growing in until harvested. A shallow, broad deli container produces far more reliabelly than a narrow, deep jar of the same volume full of oatmeal.
Because it asks for length and width, the tool takes account of this fact, you should too when basing your expectations based off amount of space they have to grow. You should also understand when that peak occurs. Depending on the starch base, most mediums hits their stride between day five and day twelve. Baby cereal can spike higher and crash quicker then oatmeal which has a more consistent and stable output. Each medium makes a tradeoff: how high does it produce vs how long will it last? See the reference table on the page for each.
Knowing this is critical because you don’t want to plan your harvest schedule based off a culture that crashes and leaves small active fry starved. Consistent daily ration is a must. If the culture peaks but then crashes by 8% per day thereafter, you won’t be able to maintain a large spawn for very long unless backed up.
This is where the backup culture feature comes into play. A single tray will not support a nurserys two weeks of grow-out time. How do you know how many additional cultures to begin? When should you begin them? That’s what the calculator does for you.
Rule of thumb: Start your next batch while the previous batch is still nearing full strength; don’t wait until it has crashed and burned. That staggered approach maintains an uninterrupted stream of food. No more panicking at feeding time because you’ve run out.
Size also makes a difference with fry. Newly hatched fry are tiny larvae still clinging to their yolk sacs. They requires very small meals. They may eat only a tenth of a milligram of food each per day. As they mature, there appetite quickly increases. With this tool, you can account for different sizes of fry; neither starving those sensitive early-foodies nor killing bigger grow-out fry by overfeeding them.
Uneaten worms will rot in the water column, crashing your water quality and killing the fish you’re attempting to save. Overfeeding seems harmless, but uneaten worms rot in the water column and crash your water quality.
So how do you use the microworms? It’s all about timing. Microworms aren’t just something you grow, but rather a perishible commodity whose shelf life has an expiration date. Using the calculator takes away the guess work when it comes to managing this perishible resource. It shows you when you should of harvesting, when to make backup, and if your fry count is even realistic for the setup.
After seeing the numbers, you won’t worry anymore about raising fry. Stop hoping for the microworms to multiply. Instead, know exactly what you have in the tank and let that knowledge lead to a healthy batch of swimming fry or bust.