Light Spread Coverage Area Calculator
Estimate aquarium fixture coverage from mounting height, beam angle, fixture length, overlap, tank footprint, and PAR edge falloff.
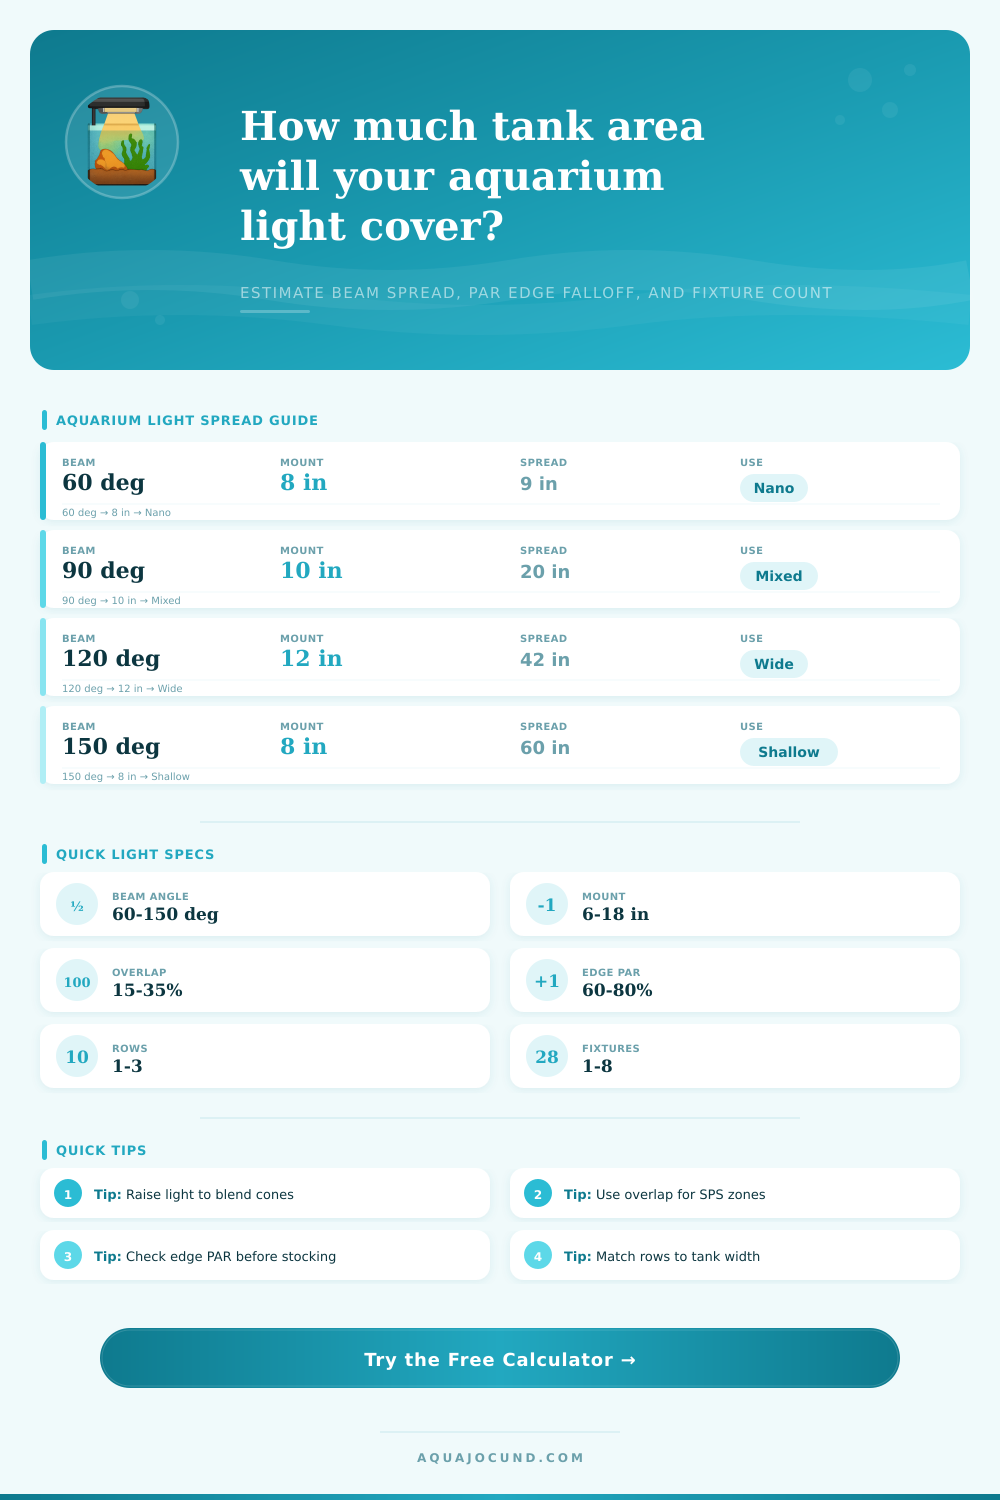
| Beam type | Beam angle | Spread formula at 10 in mount | Best aquarium use |
|---|---|---|---|
| Narrow lens | 45° to 70° | 8.3 to 14.0 in raw cone | Deep reef hotspots, strong shimmer, focused zones |
| Standard puck | 80° to 100° | 16.8 to 23.8 in raw cone | Mixed reef, planted tanks, general coverage |
| Wide diffuser | 110° to 130° | 28.6 to 42.9 in raw cone | Even spread over shallow and medium tanks |
| Strip or panel | 140° to 160° | 54.9 to 113.4 in raw cone | Shallow freshwater, frag trays, low-shadow layouts |
| Tank | Footprint | Area | Typical light layout |
|---|---|---|---|
| 10 gallon | 20 x 10 in / 51 x 25 cm | 200 sq in / 0.13 sq m | One 16 to 20 in strip or one small puck |
| 20 long | 30 x 12 in / 76 x 30 cm | 360 sq in / 0.23 sq m | One long bar or two compact fixtures |
| 40 breeder | 36 x 18 in / 91 x 46 cm | 648 sq in / 0.42 sq m | One panel, one bar, or two reef pucks |
| 75 gallon | 48 x 18 in / 122 x 46 cm | 864 sq in / 0.56 sq m | Two long strips or three reef pucks |
| 125 gallon | 72 x 18 in / 183 x 46 cm | 1296 sq in / 0.84 sq m | Three strips or four to six puck fixtures |
| Goal | Overlap target | Fixture rows | Use this when |
|---|---|---|---|
| Basic freshwater | 5% to 15% | 1 row | Plants are low to medium light and hardscape shadow is minimal |
| Planted display | 15% to 25% | 1 to 2 rows | You want fewer dim corners and smoother PAR across the scape |
| Mixed reef | 20% to 35% | 2 rows if wide | Corals need stable edge PAR and less shadowing from rockwork |
| SPS or frag tray | 30% to 45% | 2 to 3 rows | Uniformity matters more than maximum single-fixture peak PAR |
| Falloff setting | Edge PAR from 120 center | Coverage effect | Good fit |
|---|---|---|---|
| 20% | 96 PAR | Narrower but more even usable footprint | High-demand planted carpets and SPS ledges |
| 35% | 78 PAR | Balanced usable spread for mixed aquariums | Most planted tanks and mixed reef zones |
| 50% | 60 PAR | Wider footprint with softer edges | Low-tech freshwater, soft corals, viewing light |
| 65% | 42 PAR | Broad visual spread, weak edge intensity | Supplemental fill light only |
How many times have you stood in front of a newly acquired aquarium light and wondered…will this thing even light up that little piece of coral on the far side of the tank, or will it burn a hole through the middle and leave everything else in darkness? It’s this nagging question that informs all your setup choices, whether to purchase additional lights, whether to accept patchy corals, etc. And guess what? Light isn’t magic. It follows predictable behavior. It is a cone-shaped spread dictated by physics. When you know how this cone intersect your tank, you stop guessing and begin designing.
Beam angle compared to mounting height are the key idea here. Narrow means focused in a tight spot, which sounds great but then you realize the rest of the tank gets dimmed. That’s why the calculator above do the math for you, turning all the abstract degrees into real life coverage area on your water surface. Plug in your mount height and lens spread and it’ll tell you whether you’re covering the middle third or entire piece of glass.
Understanding Aquarium Light Coverage
Most folks think bigger is always better. Not true. Very wide beams spread photons out so thinly that even high power drivers fails to deliver useful intensity down at the substrate. Finding the balance between desired coverage width and minimal required PAR for your livestock are the trick. But this gets back to key concept of overlap. Most of the time you won’t have a single fixture spanning a long tank, instead, you’ll have areas where the individual light cones fails to blend seamlessly with each other.
What happens? Shadow lines appear, or more likely, sharp decreases in illumination that stress plants and inhibit coral growth. Using the tool, you can specify overlap, basically how far do you want the edges of adjacent footprints to “bleed” into each other. More overlap equals more uniform lighting, but also the need for more fixtures (or higher drive currents) to keep the edges intense. So it’s a game of biological evenness vs. The wallet. Where you have a lot of plant or SPS on the reef, you’re often better off spending the money to push the overlap to 30% or more so that algae doesn’t take over those low-light spots.
The type of tank also plays a role. In a tall tank, light travels further before hitting bottom. Much of it is lost because of scattering and absorption by the water itself. Because of this, a tall tank needs a different optical approach different than, say, a long breeder or a narrow cube. The calculator factors this in, which means that you can enter how much you want at the center and then adjust the maximum falloff (which is just what we defined above). It’ll calculate an estimate of how much you’re getting at the edge of the tank and let you know whether that’s sufficient given your choice of beam angle and mounting position.
You may discover, for instance, that you simply cannot achieve the coverage you desire with available beam angle and height you chose. Knowing that before shelling out cash? That is priceless. You should of checked this first. More visually bright doesn’t necessarily mean more biologically effective. While some lights may appear super bright to you, they might emit very little photosynthetically active radiation (PAR) for your corals. You’ll see this frequently with poorly designed lenses that scatter the light upward and into the hood rather than down onto the water. You will also see it with lights that emphasize color rendering over output.
When considering PAR edge falloff, you’re putting the emphasis on what matters most, your livestock. To help set your expectations, they has a series of reference tables on the page that give you some immediate benchmarks for typical situations. If you’re looking at products but don’t know the details (e.g., what kind of beam), it can be nice to see them side by side based off standard height.
Lighting comes down to balance. It’s not just about intensity, do I have enough to drive growth? And it’s not just about spread, does it hit everything? But how do I get both while distributing it evenly to prevent stress points? With that balance, your hardware selection reflects the physical limits of your tank. The results show up as steady growth and vibrant colors. No more fighting shadows, you start cultivating life.
Cultivating life.