Hatch Rate Percentage Calculator
Calculate fertile egg percentage, hatch rate, survival through fry stages, expected fry count, and nursery capacity from spawn counts and tank volume.
Calculation Breakdown
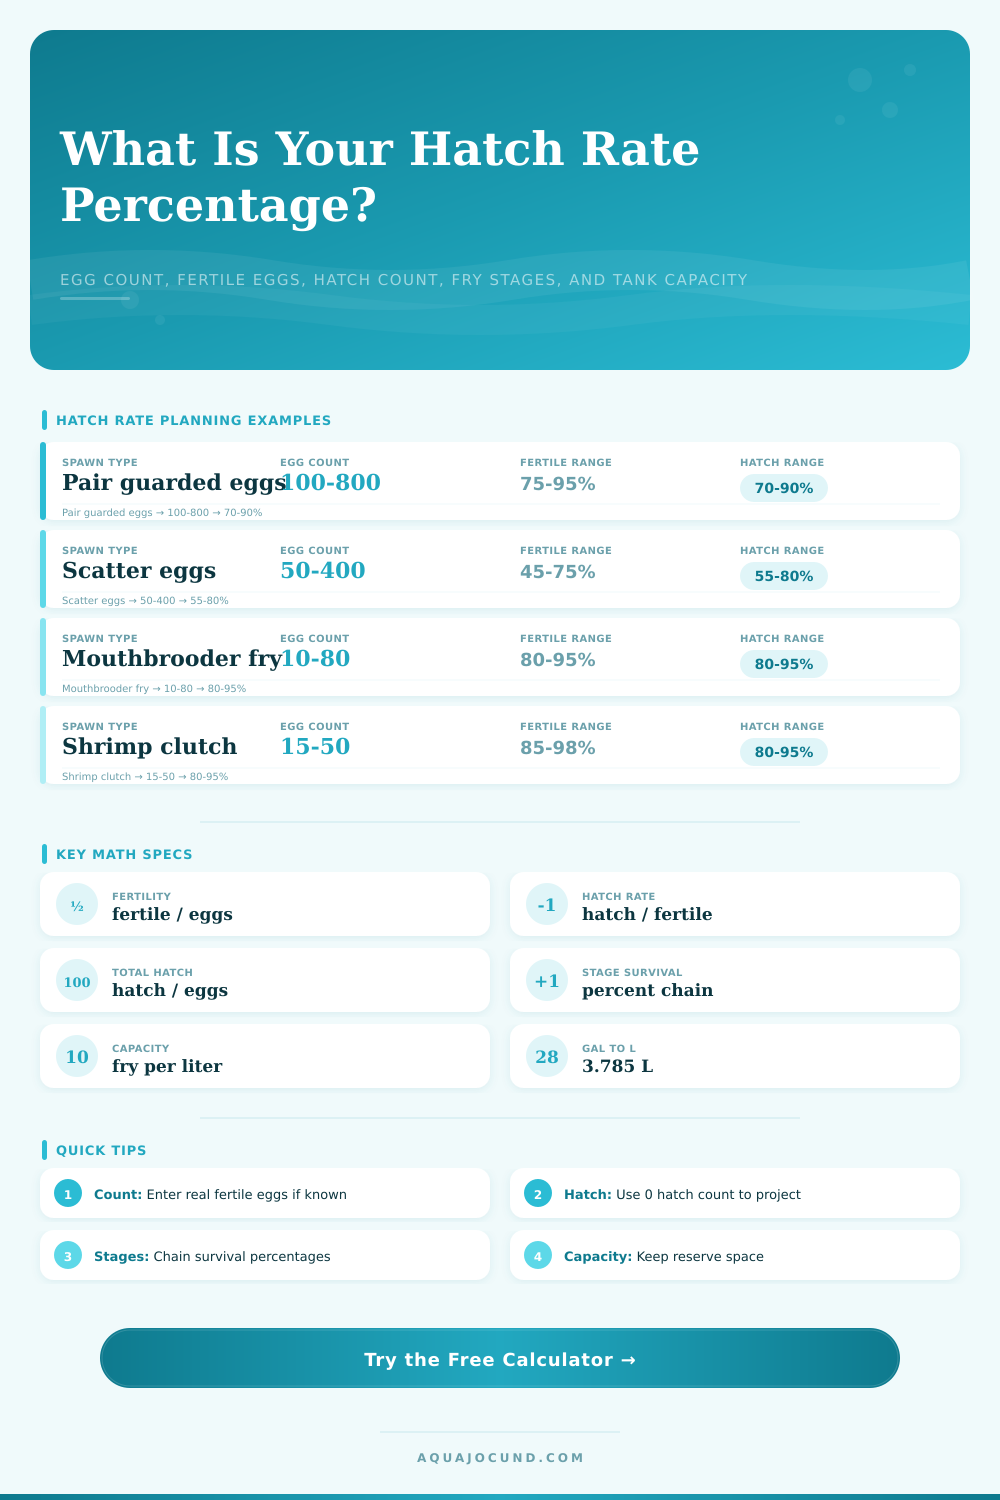
| Profile | Typical egg count | Fertility guide | Hatch of fertile eggs | Incubation window |
|---|---|---|---|---|
| Angelfish guarded eggs | 150 to 700 | 75 to 95% | 75 to 92% | 2 to 4 days |
| Clownfish tile clutch | 100 to 1,000 | 75 to 95% | 70 to 90% | 6 to 10 days |
| Betta bubble nest | 50 to 500 | 65 to 90% | 60 to 85% | 1 to 3 days |
| Corydoras adhesive eggs | 20 to 200 | 60 to 90% | 65 to 88% | 3 to 6 days |
| Danio or tetra scatter eggs | 50 to 400 | 45 to 75% | 55 to 80% | 1 to 3 days |
| Killifish stored eggs | 10 to 150 | 50 to 80% | 45 to 75% | 14 to 90 days |
| Discus cone spawn | 80 to 400 | 70 to 92% | 65 to 85% | 2 to 4 days |
| Freshwater shrimp clutch | 15 to 50 | 85 to 98% | 80 to 95% | 18 to 35 days |
| Tank | Dimensions | Net volume at 90% | At 2 fry/L | At 5 fry/L |
|---|---|---|---|---|
| 2.5 gal nursery | 12 x 6 x 8 in / 30 x 15 x 20 cm | 2.2 gal / 8.4 L | 16 fry | 42 fry |
| 5.5 gal nursery | 16 x 8 x 10 in / 41 x 20 x 25 cm | 4.9 gal / 18.7 L | 37 fry | 93 fry |
| 10 gal nursery | 20 x 10 x 12 in / 51 x 25 x 30 cm | 9.4 gal / 35.7 L | 71 fry | 178 fry |
| 20 high growout | 24 x 12 x 16 in / 61 x 30 x 41 cm | 18 gal / 68 L | 136 fry | 340 fry |
| 20 long growout | 30 x 12 x 12 in / 76 x 30 x 30 cm | 17 gal / 64 L | 128 fry | 320 fry |
| Metric | Formula | Use in calculator | Count source |
|---|---|---|---|
| Fertility percentage | fertile eggs / total eggs x 100 | Separates fertility from hatch performance | Direct fertile count or estimated percent |
| Hatch rate from fertile eggs | hatchlings / fertile eggs x 100 | Main hatch rate percentage | Actual hatch count or projected hatch percent |
| Total egg hatch percentage | hatchlings / total eggs x 100 | Whole-spawn result | Includes unfertile and removed eggs |
| Stage survival chain | stage 1 x stage 2 x stage 3 | Projects fry through early checkpoints | User-entered survival percentages |
| Nursery capacity | net liters x fry per L x reserve factor | Compares expected fry to available tank space | Tank shape, fill level, displacement, density plan |
A clutch of eggs here, a clutch there; there it is! Hope always stays alive. You’ve bred. Or so you thought. You’re really just starting to bargain with nature.
If you know where the population plummets, you will succeed. More often than not, one catastrophic event isn’t enough to send your fry into nothingness. Compound percentages is working against you, little by little.
Tips for Successful Breeding
Keeping score is what turns the occasional beginner into a lifelong breeder.
Hatchability vs. Fertility, Don’t confuse these two stats. They’re not synonymous. People run ’em together as if they were a single stat.
So, hatchability = number of eggs that developed after being fertilized. Fertility = number of eggs to which sperm was applied.
So, let’s say you put in 50 eggs. Thirty of them are fertile. That means your fertility rate is 60%. Of those 30, 25 hatched. Your hatch rate on those fertile egg is ~83%. With the help of the calculator, you can split out each of these metric. This tells you whether your issue is how well the fish mate or if something in the water are killing the embryos.
Survival is driven by speed which is driven by water temp. Metabolism increases as water temps increase. This results in a quicker hatch, but it also increases the need for oxygen and increases vulnerability to bacterial infections.
Lower water temperatures slow everything down. This gives the embryo more time to develop stronger, but it also increases the risk of fungal outbreaks.
Those eggs that are guarded (e.g., discus, angelfish) generally do better with a stable warm water range because their parents will care for the young. Eggs laid by scatter spawners such as tetras rely on luck and water quality. They’re left to fend for themselves.
That’s why the stage of development in the tool matters. Hatching to free swimming is where many species struggle the most. It requires the yolk sac to be completely used up before the fry will be able to feed. Run out of gas before you get your food intake going and… game over. High-quality food can not fix the problem with the timing.
Capacity is another thing where people don’t know what they don’t know. Take for example, I have a 20g tank. That’s plenty of room for a couple dozen fry. Not so fast. That may or may not be true depending on your bio-load. It also depends on the amount of space required for proper water circulation.
Fry need clean water. Their filtration system isn’t quite up to snuff yet. So when you crowd them into a nursery, you’ve created a buildup of waste that is more than any filter can handle. This is why we have a reserve capacity option in the tool. Never max out your tank to its absolute potential. Always leave yourself some wiggle room to move equipment and make water changes. Plus there’s always that overnight growth spurt, no biggie. But just enough to avoid a disaster.
You have a baseline from the reference table. Now what? Real world results will be different than. Maybe your angelfish are older and lay less viable eggs. Perhaps your shrimp is stressed out and drop their eggs early. So take the standard percentages above as a starting point. It is not a promise.
What’s valuable here is that you’re keeping track of numbers. You do this to count fry, but more importantly it is a way to build a feedback loop with your setup. After awhile, you’ll know what water parameters work best for higher survival. You’ll know what practices results in additional loss.
Breeding is part art and part science. It’s all a game of managing expectations. Keep the water clean. Respect the biology. Let the numbers tell you what your next move should of been. That turns a lucky spawn into a reliable system.