🪱 Grindal Worm Bin Size Calculator
Estimate live-food demand, harvestable worm output, active culture area, bin count, rotation load, and backup cultures for aquariums and fish rooms.
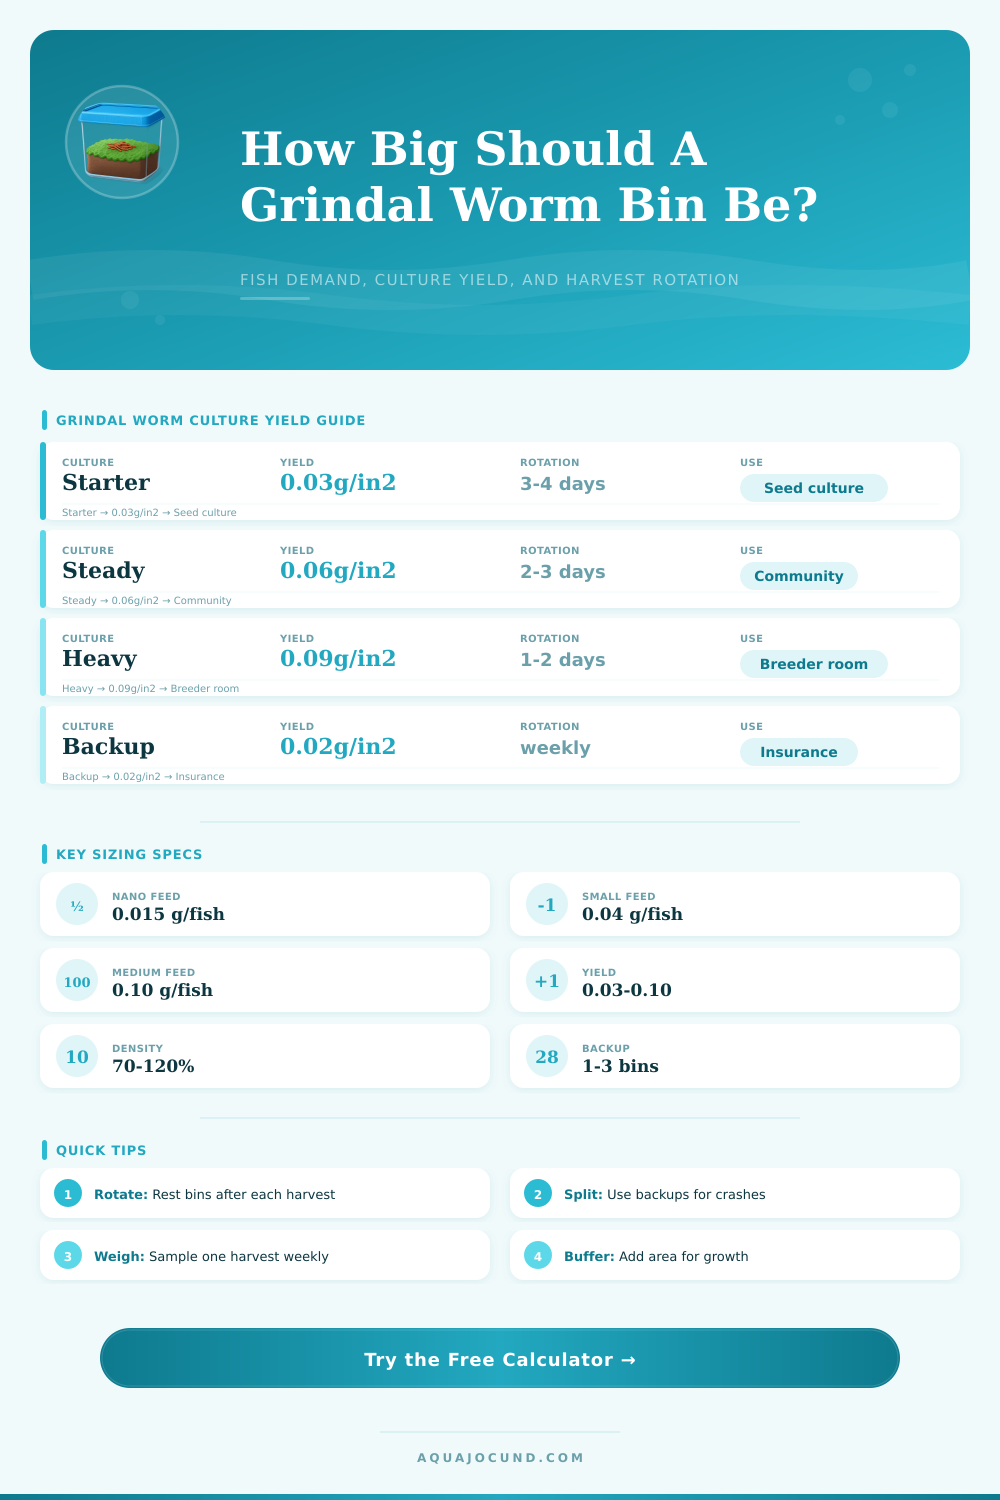
| Culture profile | Yield estimate | Best use | Calculator setting |
|---|---|---|---|
| Starter new or recovering culture | 0.02-0.04 g/in²/day | Seeding, insurance, light fry feeding | Lower yield, 60-80% density, more backup cultures |
| Steady mature food container | 0.05-0.07 g/in²/day | Small fish rooms and community live-food rotation | Default yield, 80-100% density, 2-3 rest days |
| Strong dense mature culture | 0.08-0.10 g/in²/day | Breeders, juveniles, daily harvest rotation | Higher yield, 100-125% density, frequent small harvests |
| Cool room or old medium | 0.02-0.05 g/in²/day | Low-temperature rooms and refresh timing | Lower age factor and longer rotation rest |
| Bin style | Usable dimensions | Surface area | Steady weekly output |
|---|---|---|---|
| Small deli cup | 5 in × 4 in / 12.7 cm × 10.2 cm | 20 in² / 129 cm² | about 5.9 g/week before buffers |
| Shoebox culture | 10 in × 6 in / 25.4 cm × 15.2 cm | 60 in² / 387 cm² | about 17.6 g/week before buffers |
| Flat food container | 11 in × 7 in / 27.9 cm × 17.8 cm | 77 in² / 497 cm² | about 22.6 g/week before buffers |
| 6 qt sweater box | 13 in × 8 in / 33 cm × 20.3 cm | 104 in² / 671 cm² | about 30.6 g/week before buffers |
| 10 qt tub | 15 in × 10 in / 38.1 cm × 25.4 cm | 150 in² / 968 cm² | about 44.1 g/week before buffers |
| Rotation plan | What it means | Production effect | When to use |
|---|---|---|---|
| Every day, light pass | Harvest a small surface patch daily | High access, lower stress when harvest cap is 50-65% | Fry racks and tiny daily feedings |
| 2-day rest | Each active bin rests about two days after harvest | Balanced output for steady mature bins | Most nano and community live-food plans |
| 4-day rest | Fewer, larger harvests with more recovery time | Needs more active area for the same weekly target | Cool rooms, new cultures, low-density media |
| Backup cultures | Extra cultures not counted as active production | Adds footprint but protects against crashes | Any breeder room or single-culture setup |
| Fish group | Typical portion | Frequency | Bin sizing note |
|---|---|---|---|
| Tiny fry | 0.006-0.015 g/fish/feed | 4-14 worm feedings/week | Small portions, high frequency; backup cultures matter |
| Nano fish | 0.015-0.04 g/fish/feed | 2-7 worm feedings/week | Shoebox cultures often cover a small rack |
| Small community fish | 0.03-0.08 g/fish/feed | 1-4 worm feedings/week | Use diet share below 100% for treat feedings |
| Breeder conditioning | 0.08-0.18 g/fish/feed | 3-10 worm feedings/week | Run multiple active bins and at least two backups |
Note: Grindal worms live on surface of their growing medium; the amount of volume in your container is not as important than its surface area. To calculate accordingly, think about measuring in square inches, not quarts. Since they feed on yeast and mold that forms at the surface, more depth will only help hold moisture and support top layer. For example, a flat tub contains more usable surface area then a deep bucket with a small opening. The calculator translates the size of your bins (or whatever) into usable culture area for comparison across containers on even playing field.
Culture maturity determines yield. The first few days of a new set-up may see yields of just 0.03 grams per square inch per day as it establishes its microbial ecosystem. As colony stabilizes, however, yields typicaly double, reaching about 0.06 grams per square inch per day. To push yields even further, you need to be careful with your humidity and harvest regularly: If you don’t, the worms will cannibalize each other and the culture will become overpopulated. You’ll notice a thick surface when it’s time to stop feeding, but most growers don’t realize how quickly this density accumulate.
How to Grow More Worms Successfully
Consistent output requires rotation. The worms must have time to reproduce and recover between removals, which means that you can’t harvest every square inch daily. Keep the supply steady by resting each bin for two or three days between harvests. With just one bin actively running, your fish will either starve or gorge themselves depending on day of the week. By spreading the load across multiple bins, rotating them like crops, you’ll keep yield stable while giving each container time to breathe. The rest period is what separates a reliable operation from a crash-prone hobby.
Then you need to consider losses due to handling. There will inevitably be worms that drown on bottom of tank. Some won’t eat when you try to rinse them off. Others will hide in corners you can’t get your tweezers into. A little buffer added here ensures that you don’t have to size all of your cultures based off maximum efficiency. You’ll have some extra worms but it’s better than seeing fry die for lack of food.
A backup culture is your insurance policy. If you have all your stock in one bin, or even just one or two bins and it crashes because mold gets into it, or because the humidity changes too much, you’re out of luck. Maintaining an additional starter culture going at half-capacity gives you the seed material to quickly reboot your main production line should the need arise. It doesn’t take up much space, but it’s a lifesaver for peace of mind.
Begin small and get your real yield figured out for a week, adjust your inputs for yield accordingly until it reflects what’s actualy happening. It’s not real until you’ve got it reflecting your technique and your environment, and then it scales up from there, its math at that point once you’ve got how many plants per sq inch you really have. Before that, each bin is an experiment. But by measuring the baseline, you are in charge of that experiment.