
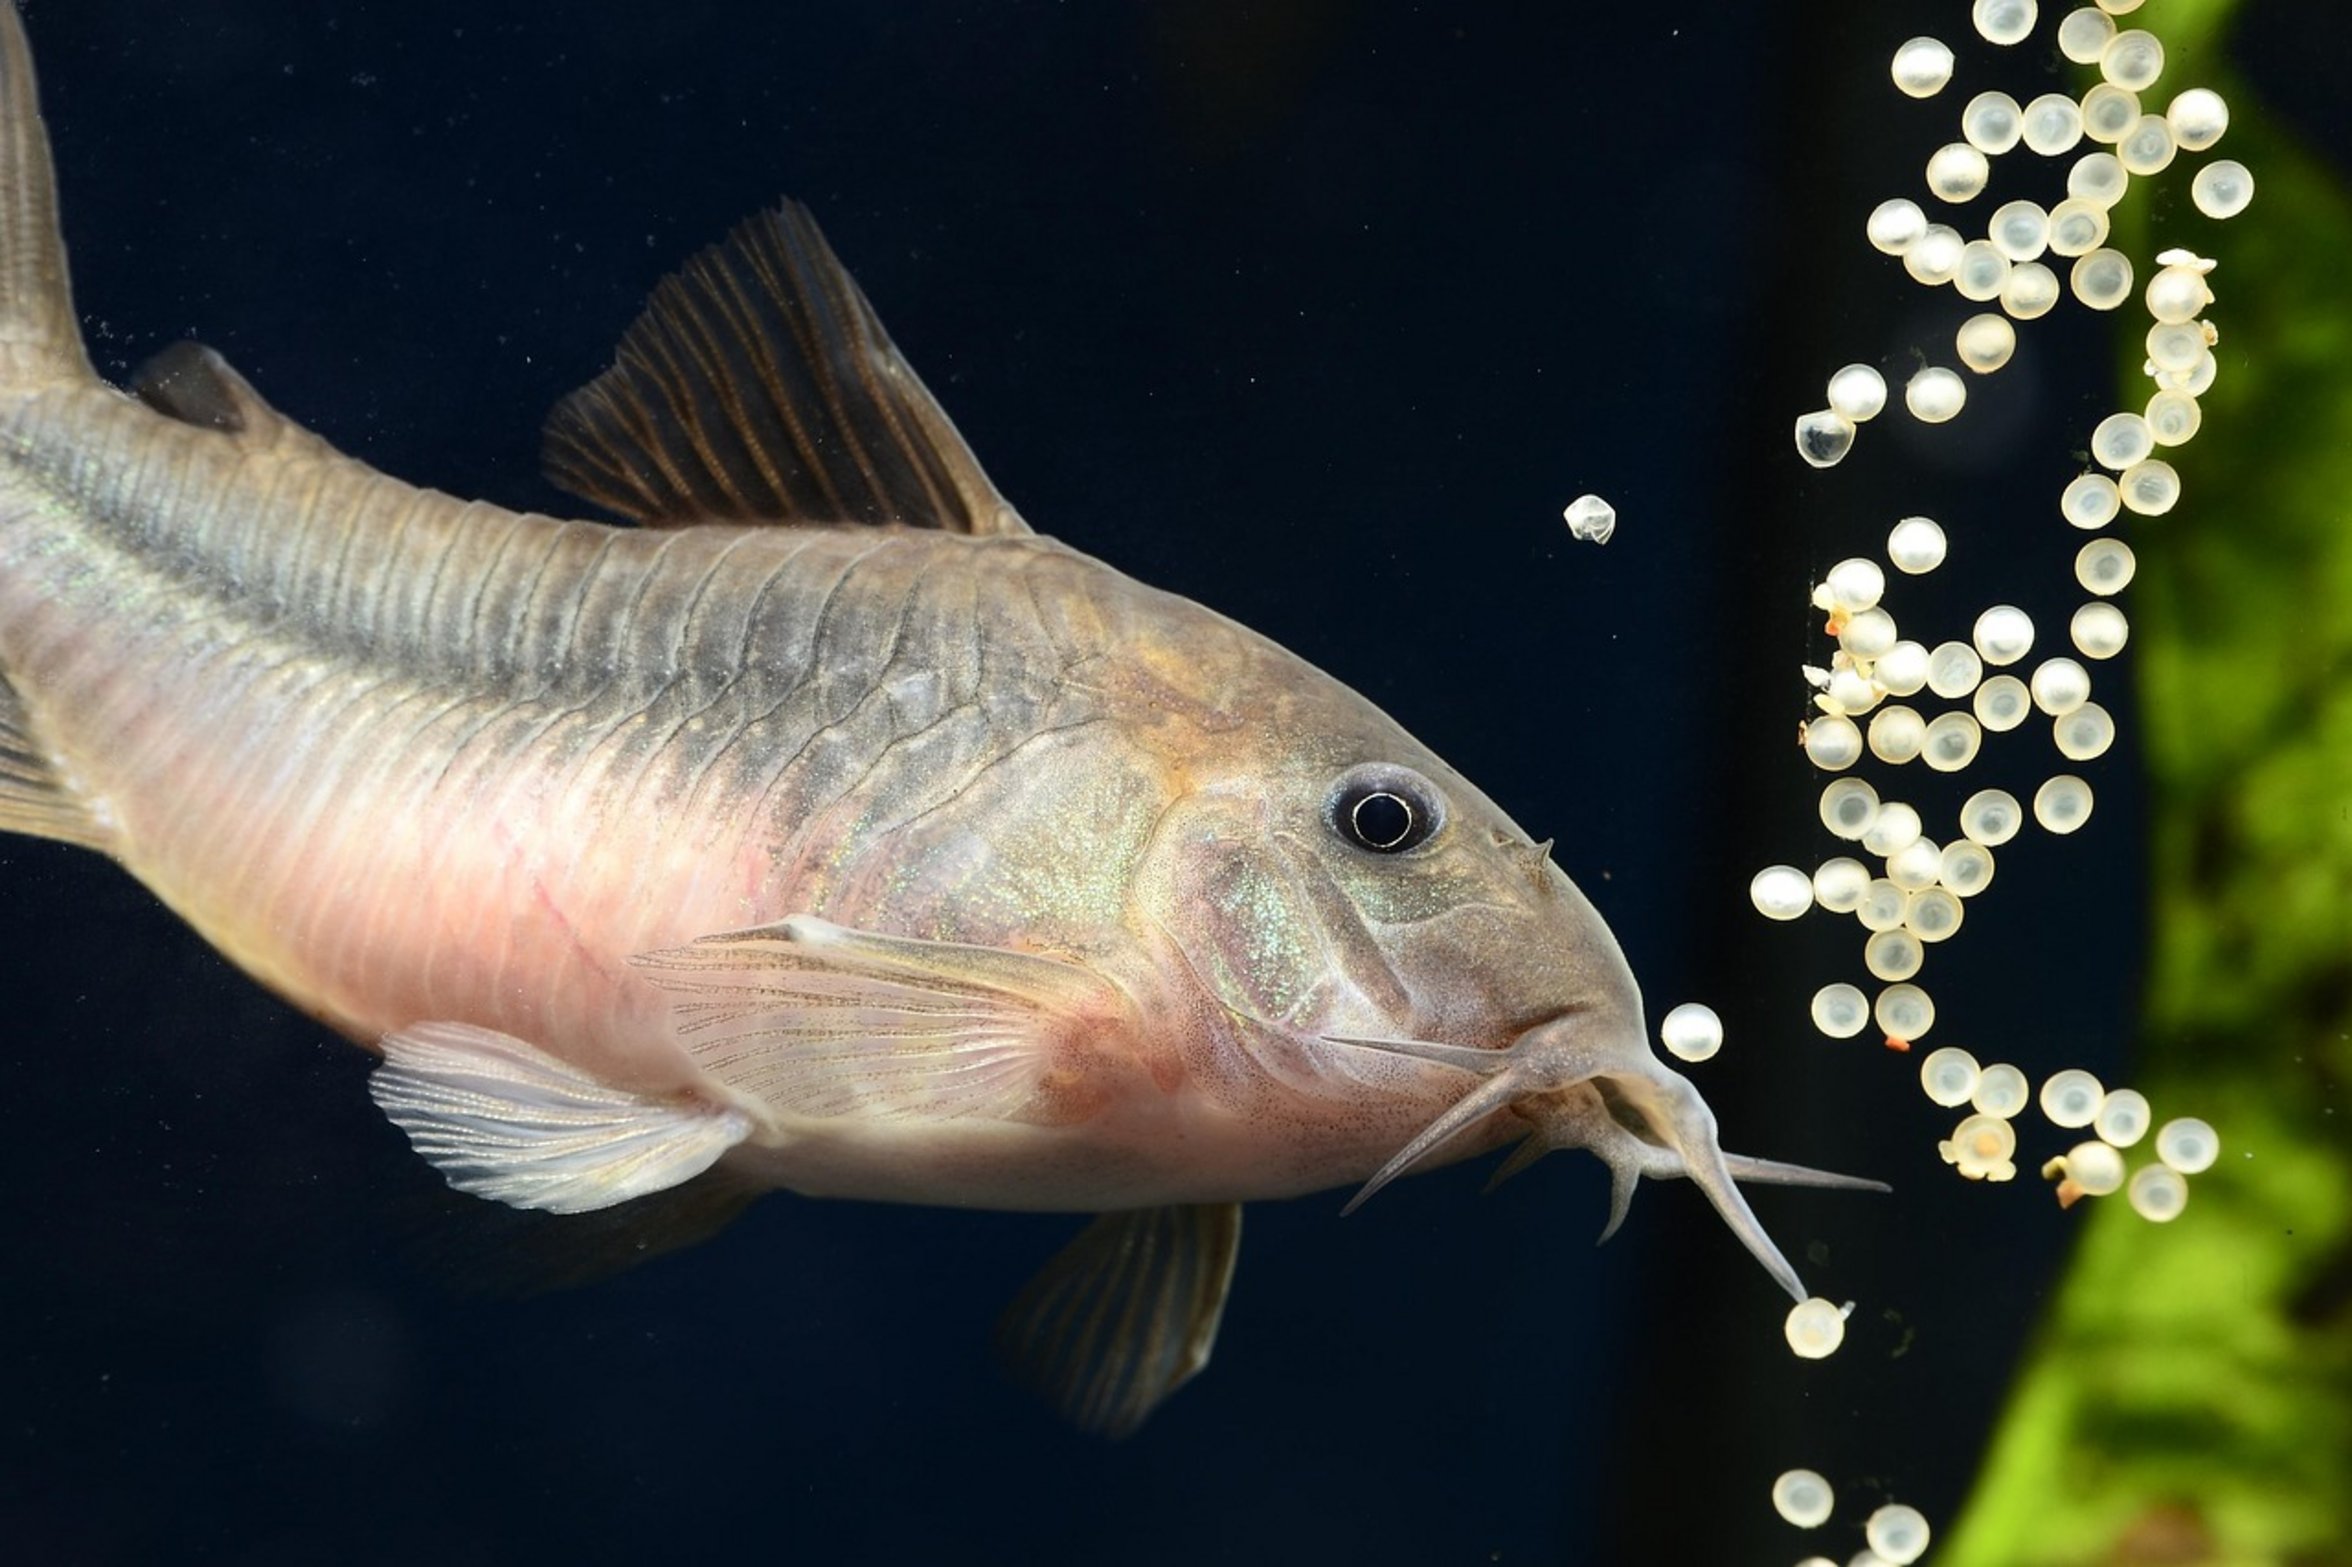
If you keep Corydoras, little white dots on the glass of your aquarium is generally a positive thing. It’s rare to see these shy spawners laying eggs out in the open, but when it do occur, it’s a neat sight. Most often, however, the eggs is laid in some concealed location such as underside of plant leaf or under a piece of driftwood.
The joy quickly transforms into concern… Those eggs are delicate and must be guarded from the parents. Corydoras is opportunists.
They’ll happily feed on their offspring. Without intervention, you will likely end up with fewer fry then you started with. You don’t want to move the eggs; rather, you want to provide a space where the parents can’t access them.
Steps To Save Corydoras Eggs From Predators
Corydoras Egg Behavior and Risks
While doing this, maintain consistant water parameters. Your initial reaction may be to run for the net. That’s probably the last thing you should of do.
Corydoras eggs stick to surfaces such as heater jackets and even glass. They’re sticky. But don’t panic…
They aren’t dissolving and they aren’t falling off. In fact, they’re supposed to stick on the surface. The issue lies with removing them without shocking the water chemistry or harming the embryos.
Preparing a Safe Nursery Environment
It will take a bit of preparation and a gentle hand. You want to move the eggs away from the adults, but keep them in their same environment. To get them into a safe location, they must remains in water very close to what they were accustomed to in main tank.
Setting up a makeshift nursery is easy and doesn’t has to be costly either. All you need is a little plastic container or even a regular gallon bucket. You’ll want to fill your container with some of the water from your main display tank.
The pH and temperature should also be similar than that of your source tank. A change in temperature, especially a drop, will slow development and make the fry more susceptible to fungal growth (common in stagnant, cool water). After setting up your container, you’re now able to move the eggs over.
Techniques for Moving Eggs Safely
Use a small paintbrush or a turkey baster to gently lift the eggs from the glass with a light touch. Don’t scrub at all. Just use a gentle touch to remove the eggs.
Where do you put the eggs? Think carefully about where they go in your new container. Ideally, you will either keep the eggs floating in the water or stuck to something, preferably something smooth and clean such as an acrylic sheet or even a plastic spoon.
I wouldn’t leave them lying on bottom of a flat container. If you do, they might get smothered by each other or collect debris. One easy solution is if you happen to have extra airline tubing.
Thread your eggs onto it (it’ll work best with species that tend to lay clusters). That way they’re sitting on a “raft.” You could also just let them fall onto any clean surface. Just make sure that surface is elevated off the bottom of the bucket so they are still easy to check on.
Alternative Method: Removing the Adults
This method lets you watch them closely while not messing with main tank. The other solution is taking out the parents from the community tank. This approach make more sense when there is lots of eggs.
I find it’s sometimes simpler to take out the adults rather than the embryos. To use this method, simply catch the Corydoras while feeding and transfer them into a separate temporary tank. That way the eggs will be fine in main tank.
The advantage is that you don’t have to handle those delicate eggs at all. The disadvantage is that you need to keep an eye on the adults so that they won’t stop eating or hiding. It’s a management effort vs. Handling risk tradeoff.
Use whichever approach suits your situation (i.e., how many egg) and what is comfortabley for you. After separation, the eggs require careful attention in order to survive. Keep the water clean and aerated.
Caring for Eggs Until Hatching
A very gentle air stone will supply oxygen and surface agitation but not enough current to wash the eggs about. Water changes are necessary as well, change 10-15% every couple of days. Siphon off any waste using a turkey baster and replenish with temperature-matched, aged, dechlorinated water.
If you see a white, cottony substance (fungus) growing on the egg, remove those eggs right away since they will infect other healthy eggs. Typically, fry will hatch in 3-5 days depending upon water temperature and species. Upon hatching, the fry will hang motionless for a short period while their yolk sacs absorbs.
They shouldn’t be fed at this stage; this is an extremely important time for them. As soon as they begin moving around, offer some infusoria or microworms. From a speck on the glass to a swimming fry, it’s a delicate process with great reward.
A little intervention goes a long way and creates a stable environment that turns a possible breeding failure into a successful breeding experience. Those little specks on the glass aren’t the end of the story. They’re only the beginning.
Your care will ensure they get the chance to thrive.
