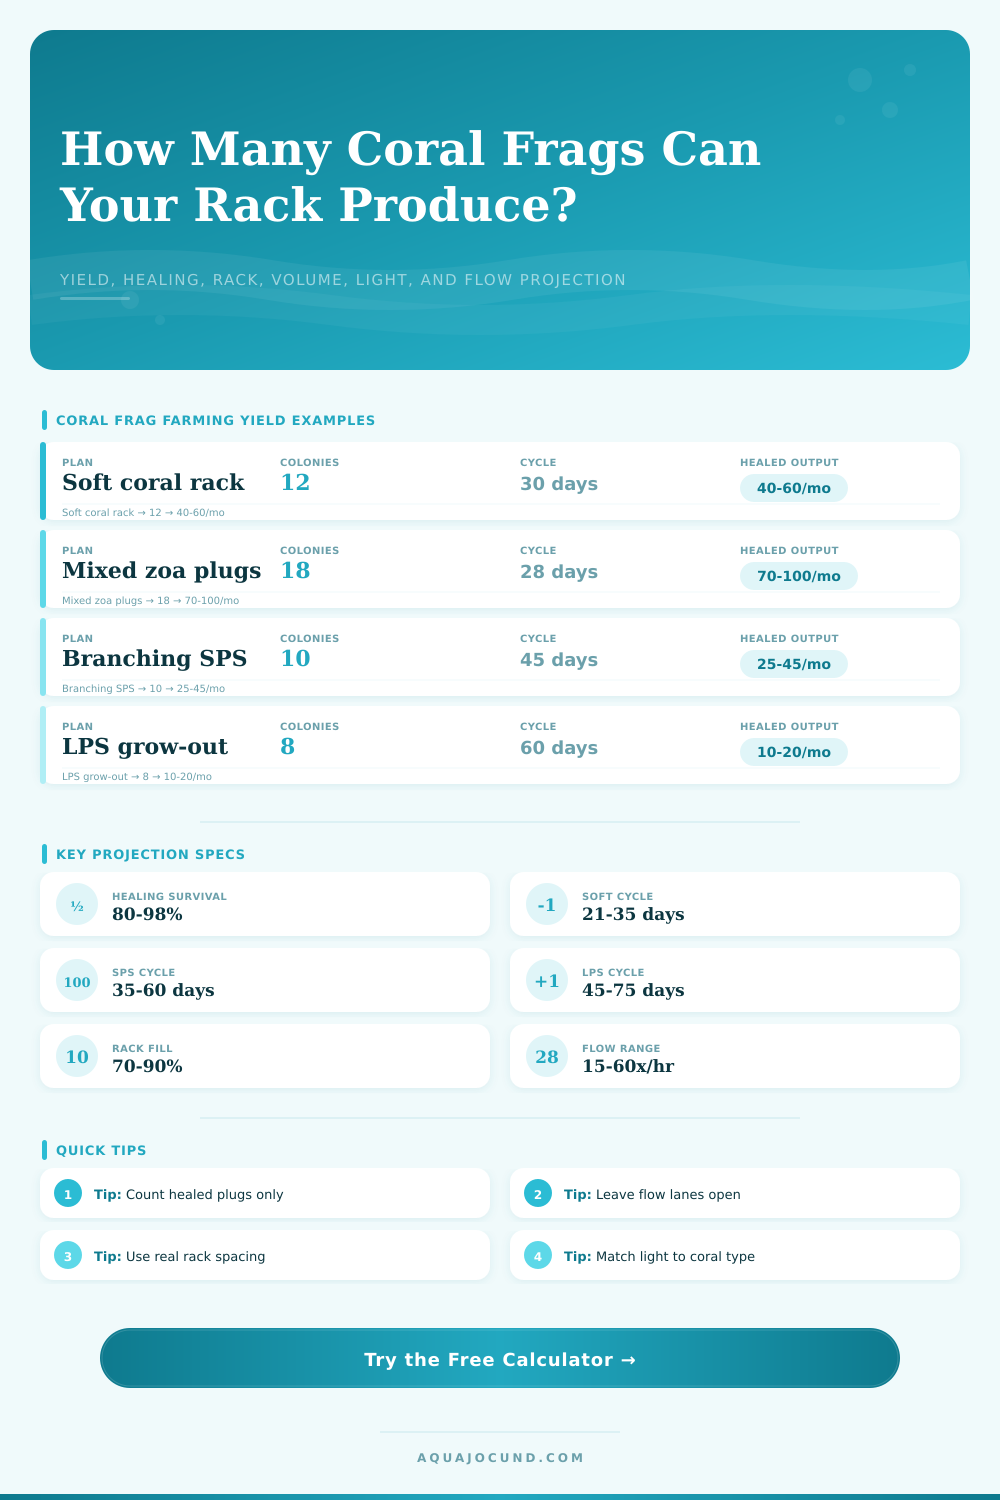
Coral Frag Farming Projection Calculator
Estimate healed monthly frag output from parent colonies, cut rate, survival, rack slots, tank volume, lighted area, and flow turnover.
Calculation breakdown
| Profile | Cycle Length | Spacing | PAR Planning Range | Flow Turnover |
|---|---|---|---|---|
| Soft coral branching | 21-35 days | 1.5-2.0 in | 75-150 PAR | 15-30x/hr |
| Zoanthid and palythoa mat | 21-35 days | 1.5-2.0 in | 80-180 PAR | 20-40x/hr |
| Mushroom corallimorph | 35-60 days | 2.0-3.0 in | 50-120 PAR | 10-25x/hr |
| Montipora cap or digitata | 30-45 days | 2.0-2.5 in | 150-250 PAR | 30-50x/hr |
| Acropora branching SPS | 35-60 days | 2.5-3.0 in | 200-350 PAR | 40-70x/hr |
| Chalice or encrusting LPS | 45-75 days | 2.5-3.5 in | 80-180 PAR | 15-30x/hr |
| Euphyllia branching LPS | 45-75 days | 3.0-4.0 in | 100-200 PAR | 15-30x/hr |
| Mixed coral grow-out | 35-55 days | 2.0-3.0 in | 100-220 PAR | 25-45x/hr |
| Plan | Cut Pattern | Healing Survival | Best Calculator Setting |
|---|---|---|---|
| Conservative parent hold | Few cuts from each parent colony | 90-98% | Lower cut rate, longer cycle, larger rack reserve. |
| Balanced propagation | Routine cuts from healthy colonies | 85-95% | Default survival and profile cycle length. |
| Fast soft-coral turnover | Many small frags from quick growers | 80-92% | Short cycle with extra rack space for healing. |
| Slow LPS grow-out | Low count, larger spacing, longer hold | 80-90% | Long cycle, wider spacing, moderate flow target. |
| System | Dimensions | Volume | Typical Useful Rack Load |
|---|---|---|---|
| 20 long frag tank | 30 x 12 x 12 in / 76 x 30 x 30 cm | 20 gal / 76 L | 20-35 mixed plugs with open lanes |
| 40 breeder shallow rack | 36 x 18 x 16 in / 91 x 46 x 41 cm | 40 gal / 151 L | 45-80 zoa or mixed plugs |
| 75 gal grow-out | 48 x 18 x 21 in / 122 x 46 x 53 cm | 75 gal / 284 L | 80-140 mixed plugs or tiles |
| 4 ft lowboy frag system | 48 x 24 x 10 in / 122 x 61 x 25 cm | 50 gal / 189 L | 120-180 small plugs by footprint |
| 6 ft propagation bay | 72 x 24 x 12 in / 183 x 61 x 30 cm | 90 gal / 341 L | 180-260 plugs with separated flow zones |
| Limiter | Formula Used | What To Adjust | Planning Signal |
|---|---|---|---|
| Biological yield | Colonies x cuts x cycles/month x survival | Parent colony count, cut rate, cycle length | Best limit when rack still has open space. |
| Rack turnover | Open usable slots x healing turns/month | Slots, occupied plugs, reserve space, heal days | Best limit when plugs cannot clear fast enough. |
| Water volume | Net liters divided by profile liters per frag | System volume, displacement, coral density | Best limit when the system is small for the frag count. |
| Lighted footprint | Usable lit area divided by spacing area | Light footprint, rack layout, coral spacing | Best limit when racks extend outside even light. |
| Flow turnover | Measured flow divided by net volume | Pump flow, wavemakers, obstruction, rack lanes | Best limit when turnover is below profile target. |
A hobbyist knows when he or she have become a grower; it’s the day when you find yourself looking at a full tank yet realizing that you don’t have enough money to pay for all those corals. Your wallet isn’t as large than the volume of coral you possess. You’re operating a biological factory where your input and output is measured in colonies rather than dollars unless you can precisely account for both.
That’s why this calculator exist. Once you enter your colony counts and success/failure rates, the calculator crunches the numbers for you and spares you from having to make educated guesses about conversion factors and coefficients. It makes growth go from chaos to spreadsheet.
Why This Calculator Helps You Farm Corals
Biological growth is not the same as sellable inventory. This is the biggest trap in frag farming. Sure, you might be able to take 20 cuts from a healthy Montipora colony but then five will die en route and two more won’t make it onto the rack due to poor flow. Suddenly your yield is much less than expected. This tool forces you to consider healing survival, the difference between breaking even and making a profit. That focus are the difference between having a good month and a bad one.
Most growers overestimate their success rate because they’re counting every cut as a sale. This is where people go wrong. Inventory doesn’t become a frag until it heals, attaches, and extends new polyp. That’s when it becomes a frag. The calculator assumes your monthly output is capped by your projected survival percentage, keeping you honest about what realy makes it out alive.
Rack capacity is another silent killer of efficiency. Can you make 50 frags a month, but your parent colonies requires room? But you might find that your inventory piles up because the racks aren’t turning over fast enough due to slow healing or tight spacing. That means you’ve got inventory piling up, when you could of had those parents make more.
The inputs around rack width, length, and spacing will tell you whether you can actualy use all the available space for your plants. Flow isn’t just some nice aesthetic advice, you need open lanes for that reason. Because if you jam-pack the rack, you’ll end up with dead spots where no light penetrates and waste builds up in the bottom of the tank.
The table on the page gives you a reference showing which corals require what kind of light profile, and how close together you should stack them. You can’t stack Zoanthids with Acropora at the same density without sacrificing survival rate.
The last limits come from water volume and flow turnover. Having too much stuff in a small tank can be a chemical time bomb. To calculate how much water you need to support all that frag density, the calculator use the net tank volume (including displacement from rocks). It’s important to have enough water to help buffer nutrient spikes.
In addition to water flow being a source of movement, it’s also a measure of turnover. Frags suffocate in their own waste if your pump isn’t turning the water over frequently enough times an hour. Your pump flow is compared to your volume so it checks whether or not you’re meeting the minimum needs based off the coral profile you chose. This avoids the mistake of adding more frags when the system has reached maximum filtration capacity.
The same holds true with lighting. If the plugs aren’t within the light footprint (i.e., inside the area where coral will grow), then it doesn’t matter how much room you have on the rack. That’s why the calculator takes into account what part of the lighted area you can use. It also prevents you from designing for more than what you have.
It is small stuff, but it is important stuff. Not taking light gradients into account causes mismatched growth rates and annoyed customers recieveing frags that don’t match the pictures.
Coral farming isn’t just about cutting out some tissue, it’s about managing a complicated physics and biology system. There are many variable and the margins are thin. With the projection tool you’re no longer guessing… you’re starting to plan. You’re starting to understand what limits you.
What’s the bottleneck? Do you need more rack space? Do you need more parent colonies? Do you need more flow? Now you know where you should spend your money by upgrading the proper thing. If you want to ship nationwide or even sell local frags, the math has to work first. Keep your expectations grounded, your flow consistent, and your survival rates realistic. Let the rack fill itself up.