Balling Method Dosing Calculator
Estimate daily Balling A, B, and C dosing from reef volume, measured alkalinity, calcium, and magnesium consumption, solution concentration, and ionic balance.
🧪Balling Presets
📐Tank Volume, Demand, and Solution Strength
Balling Daily Dosing Result
⚖Balling Component Comparison
📊Component Strength Reference
| Component | Chemical basis | Useful factor | Calculator use |
|---|---|---|---|
| Part B bicarbonate | Sodium bicarbonate NaHCO3 | 30.0 mg/L per 1 dKH | Alk demand to mL/day |
| Part B carbonate | Sodium carbonate Na2CO3 | 18.9 mg/L per 1 dKH | Higher pH alk solution |
| Part A calcium | Calcium chloride dihydrate | 27.3% calcium by mass | Ca ppm to mL/day |
| Magnesium mix | Mg chloride/sulfate blend | User-entered Mg % | Mg ppm to mL/day |
🧮Consumption and Balance Guide
| Reef style | Alk demand | Calcium demand | Balance note |
|---|---|---|---|
| Soft coral nano | 0.1 to 0.3 dKH/day | 1 to 3 ppm/day | Often low C demand |
| LPS mixed reef | 0.3 to 0.8 dKH/day | 2 to 6 ppm/day | Check weekly trend |
| SPS dominant | 0.8 to 2.0 dKH/day | 6 to 14 ppm/day | Spread dose events |
| Heavy growth system | 2.0+ dKH/day | 14+ ppm/day | Confirm with retests |
📏Common Reef Volumes
| Display size | Net water estimate | Typical demand | Dosing note |
|---|---|---|---|
| 20 gal nano | 60 to 70 L | Low to moderate | Small errors show fast |
| 40 breeder | 120 to 145 L | Moderate | Good for 4 to 8 events |
| 75 gal reef | 240 to 285 L | Moderate to high | Split through daylight |
| 125 gal system | 400 to 475 L | High if SPS loaded | Use calibrated pumps |
🔬Daily Program Review
| Check | Target action | Warning sign | Adjustment |
|---|---|---|---|
| Alkalinity drift | Test same time daily | More than 0.3 dKH swing | Change dose gradually |
| Calcium trend | Compare 3 to 7 days | Ca falls while alk holds | Raise Part A only |
| Magnesium trend | Weekly test is enough | Steady Mg decline | Add Mg/C component |
| Salinity creep | Check refractometer | Slow upward salinity | Review C and water changes |
However, the Balling method is not something that should of be taken lightly or done carelessy. You’re essentially dealing with a chemical reaction in real time. Because corals consumes alkalinity and calcium rapidly, you need to give them what they need. Once you input amount of alk and ca being consumed by your corals, along with the size of your tank, the calculator do the math for you. You no longer have to look up conversion factors and molecular weights yourself. Yay! This is chemistry after all, and it doesn’t forgive mistakes if you guess incorrectly.
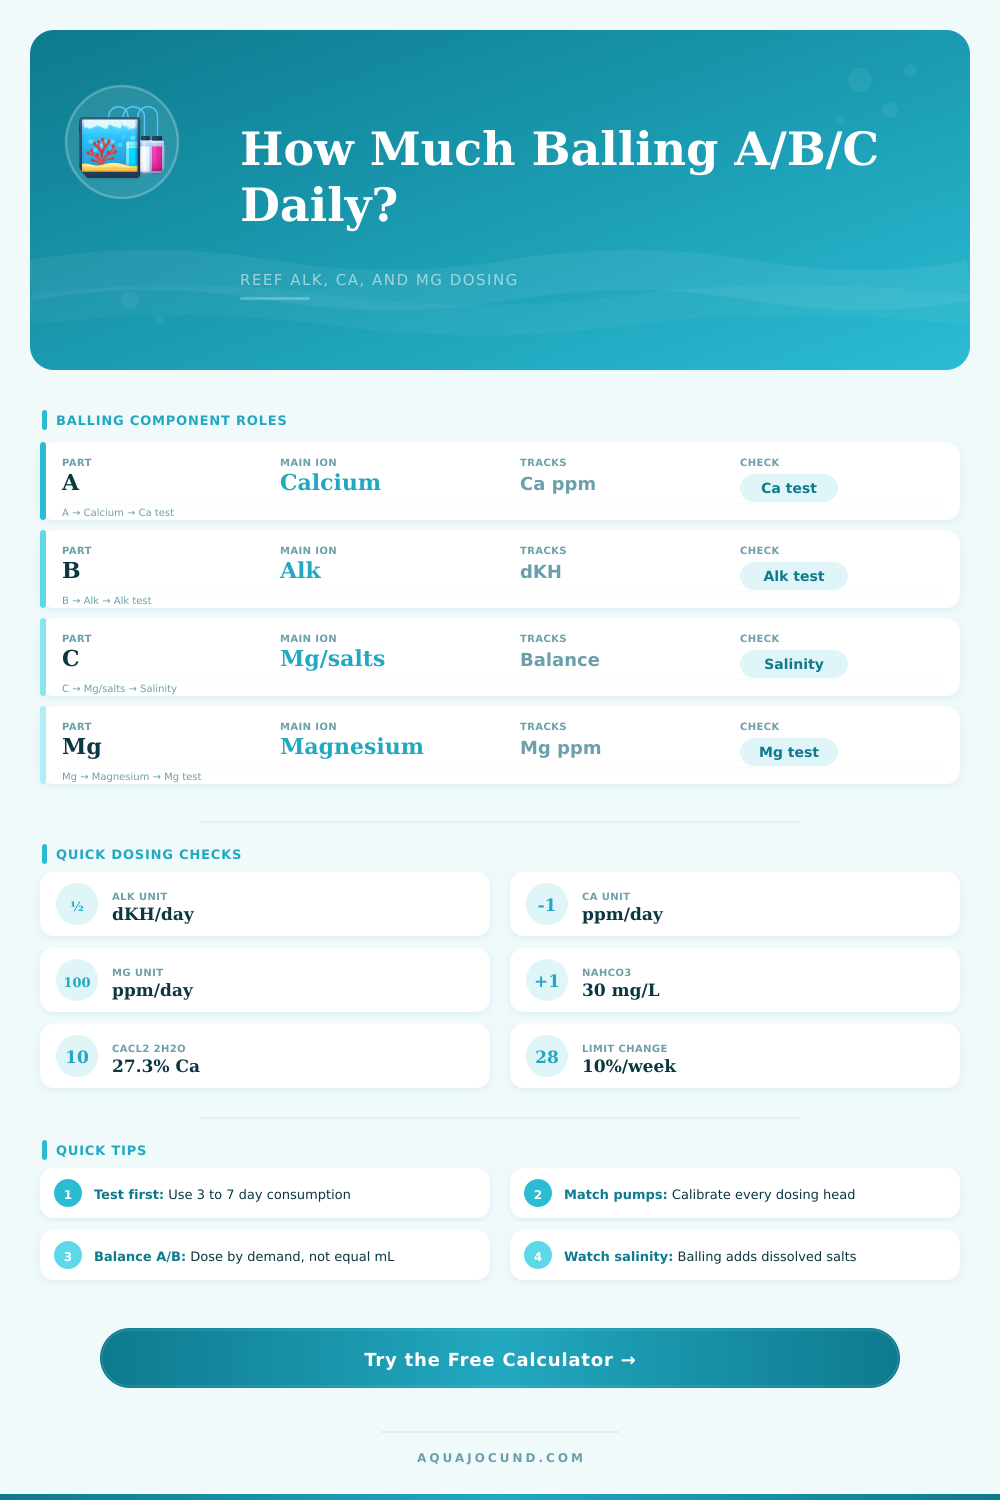
Splitting your dosing for replenishing allow for a much more precise ionic balance. Balling dosing does this by splitting it into three components. Part A is calcium (typically calcium chloride). Part B is alkalinity (usually sodium carbonate or bicarbonate). Part C is magnesium + trace element. Why separate them? Because if you mix a concentrated alkali solution and a concentrated calcium solution together, they will immediately precipitate out if not diluted in the tank. Those ions are lost to white cloudiness rather then coral growth. Know that you have to get the solutions to space intervals or get them into different columns of water.
Why You Need to Be Careful with Balling Dosing
Alkalinity and calcium consumption is stumbling points for most newbies. The idea is that you know how much goes in every day. Corals has a rhythm though. They consume more in some lighting cycles than others, and perhaps even less on cloudy days. One test provides only a snapshot; three to seven days of testing provide direction, namely a trend. Plug in the average daily loss. For tanks with no measurable drop in alkalinity, because they are too small or the change was fully buffered, the calculator will spit out low numbers. This isn’t necessarily wrong, it represent the inertia of your system.
This group of three also involve magnesium, which is essential here. Magnesium keep calcium and carbonate ions apart so they don’t precipitate together. Even if you’re dosing Part A and Part B with extreme care, precipitation will accelerate when magnesium drop below a certain level. The calculator treats magnesium independently because, even though it is needed in smaller amounts than alkalinity, it is just as important for maintaining stability. Check your magnesium weekly rather then daily to avoid the noise of minor fluctuations. Small fluctuations don’t mean much and checking daily are overkill.
Dose size scales based off solution strength. If you make your own salt mixes vs. Using a commercially available concentrate that has its density set by the maker, you can enter the concentration (in grams/liter) via the calculator. The higher the concentration of the solution, the less ml per dose. Less ml per dose results in less reservoir refilling and less pump wear. Higher conc also increases risk of local precipitation if the dosing line discharge into a low flow area. Target high flow areas like close to return lines or power heads.
The last test involves ionic balance. The calculator calculates the milliequivalents of both your alkalinity and calcium additions. One should increase while the other decreases… It’s an odd diagnostic problem. You don’t want to end up chasing calcium drops because you’re trying to add more alkalinity when in fact you just didn’t dose enough… or have bad mixing… or whatever the case may be.
Be conservative with live tissue. Always go slow, shocking livestock with sudden changes is never good. Rapidly changing your dose by >10% per week mess with chemistry even more and shocks livestock. That’s why we have a safety limiter built into the calculator. Begin at your calculated baseline, re-test in three days, and adjust accordingly based off trends. Accuracy isn’t about getting a perfect # on Day 1. It’s about reaching and sustaining a stable plateau across months. Be patient, keep your tests consistent, keep your pumps calibrated, and keep your expectations realistic. If you’re doing it right, the corals will let you know.