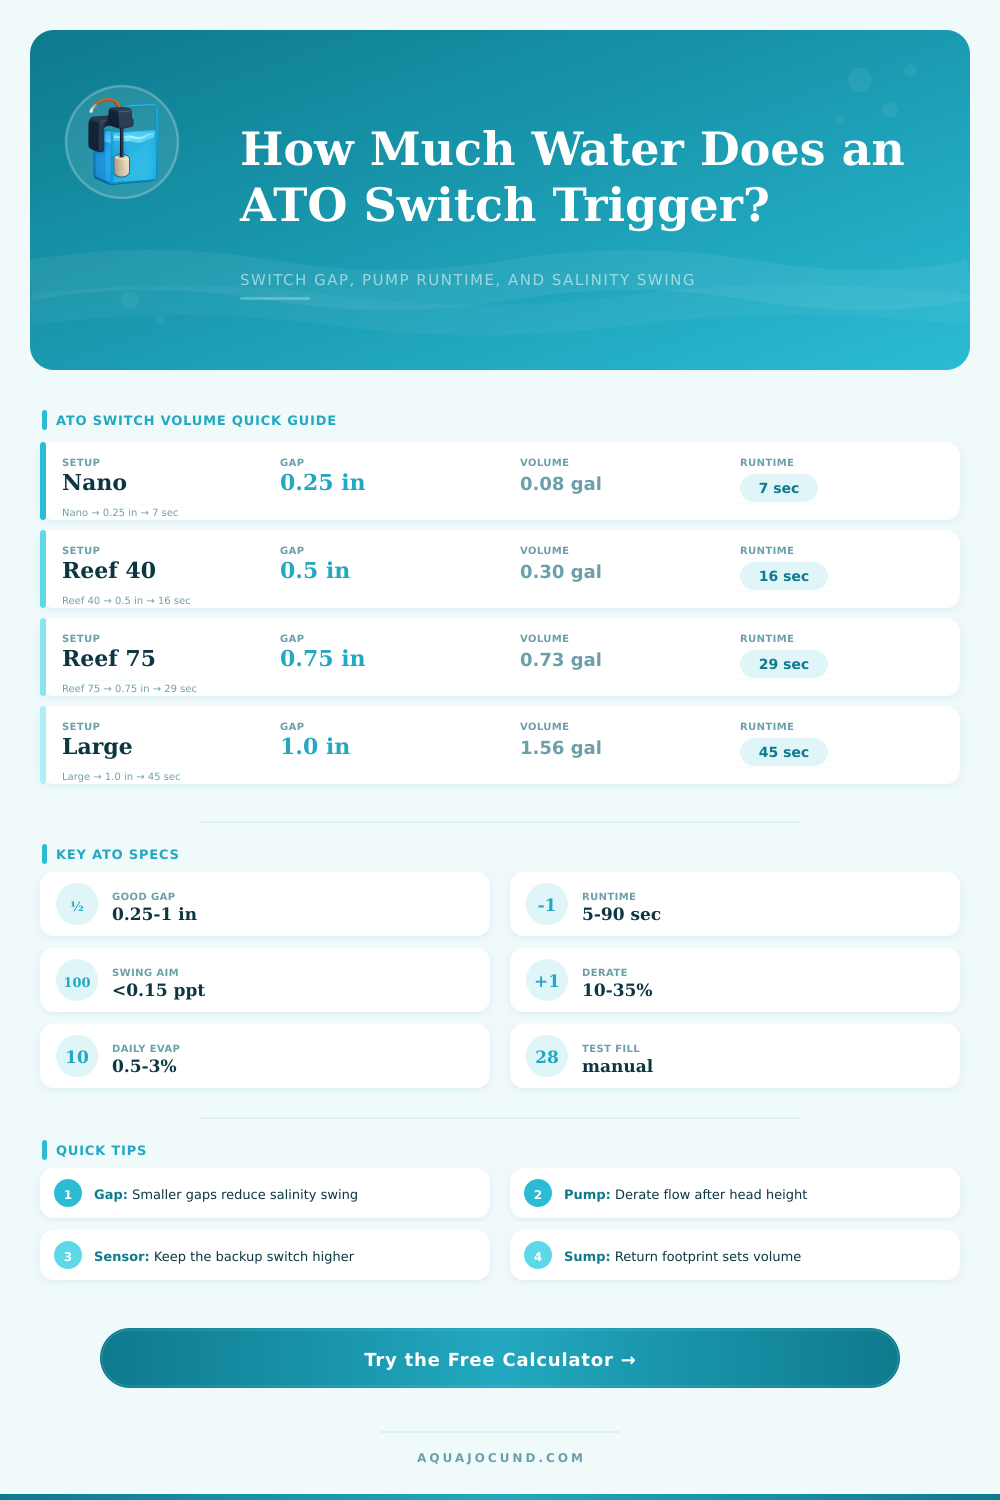
💧 ATO Float Switch Volume Calculator
Size the return chamber switch gap, top-off trigger volume, pump runtime, daily cycles, and salinity swing.
📊 ATO Switch Results
| Sensor Type | Typical Gap | Best Use | Planning Note |
|---|---|---|---|
| Mechanical float switch | 0.25-1.0 in / 0.6-2.5 cm | Simple return chambers | Needs cleaning and snail guard |
| Optical level sensor | 0.1-0.5 in / 0.3-1.3 cm | Tight salinity control | Keep lens away from bubbles |
| Dual float backup | 0.5-1.5 in / 1.3-3.8 cm | Redundant ATO shutoff | Place backup above normal high point |
| Pressure tube sensor | 0.25-1.0 in / 0.6-2.5 cm | Covered or dark sump areas | Protect air tube from salt creep |
| Conductivity sensor | 0.2-0.75 in / 0.5-1.9 cm | Freshwater detection logic | Confirm it works in saltwater spray |
| Timed dosing pump | Calculated dose | Very small reservoirs | Requires separate max-runtime limit |
| Footprint | 0.25 in Gap | 0.5 in Gap | 1.0 in Gap | Best Match |
|---|---|---|---|---|
| 6 x 6 in / 15 x 15 cm | 0.04 gal / 0.15 L | 0.08 gal / 0.30 L | 0.16 gal / 0.59 L | Nano AIO chamber |
| 8 x 10 in / 20 x 25 cm | 0.09 gal / 0.33 L | 0.17 gal / 0.66 L | 0.35 gal / 1.31 L | Small sump return |
| 10 x 14 in / 25 x 36 cm | 0.15 gal / 0.57 L | 0.30 gal / 1.15 L | 0.61 gal / 2.29 L | Medium reef sump |
| 12 x 18 in / 30 x 46 cm | 0.23 gal / 0.88 L | 0.47 gal / 1.77 L | 0.94 gal / 3.55 L | Large return bay |
| 15 x 24 in / 38 x 61 cm | 0.39 gal / 1.48 L | 0.78 gal / 2.95 L | 1.56 gal / 5.90 L | Large system sump |
| Effective Flow | 0.25 gal | 0.5 gal | 1.0 gal | Use Case |
|---|---|---|---|---|
| 20 gph / 76 lph | 45 sec | 90 sec | 180 sec | Small dosing pump |
| 40 gph / 151 lph | 23 sec | 45 sec | 90 sec | Slow ATO pump |
| 70 gph / 265 lph | 13 sec | 26 sec | 51 sec | Common utility ATO |
| 100 gph / 379 lph | 9 sec | 18 sec | 36 sec | Short tubing run |
| 160 gph / 606 lph | 6 sec | 11 sec | 23 sec | Large fast pump |
| System Volume | 0.25 gal Evap | 0.5 gal Evap | 1.0 gal Evap | Target |
|---|---|---|---|---|
| 20 gal / 76 L | 0.44 ppt | 0.90 ppt | 1.84 ppt | Use small gap |
| 40 gal / 151 L | 0.22 ppt | 0.44 ppt | 0.90 ppt | Moderate gap |
| 75 gal / 284 L | 0.12 ppt | 0.23 ppt | 0.47 ppt | Stable reef range |
| 120 gal / 454 L | 0.07 ppt | 0.15 ppt | 0.29 ppt | Low swing |
| 180 gal / 681 L | 0.05 ppt | 0.10 ppt | 0.20 ppt | Large reserve |
You wake up to find the auto top off system didn’t work, leaving your sump barely holding back a flood onto your garage floor. No, the pump wasn’t broken. You slept through the float switch sticking in high position for six hours. How do I know? It happens way too many times with hobbyists, but they don’t like to admit it.
Hardware failure is almost never the root cause. It’s bad math regarding how much water is needed to close the tiny gap between on and off positions of your chosen sensor. Most folks gets a switch, slap it somewhere there is space, and then hope it stays put. Hope ain’t no strategy.
How to Fix Your Auto Top Off System
After plugging in your return chamber measurements, the calculator do all of the work for you. No more guesstimating your gallons based off vertical space. For example, if you have a large return bay in your sump, every little bit of height make a big difference. You need to know exactly how many gallon are in that half inch gap!
The volume also determine how often your pump operates and how much the salt level change before system stabilizes. Consider the physics for a minute. Adding salt to water increases the specific gravity (saltwater evaporates). Auto top off dilutes it back down again by adding fresh water. We want to make this process repeat often enough and with such a small volume that it doesn’t affect our corals at all.
But with wider switches, more water evaporate before the pump kicks in. So salinity can gradually rise between dosings. And if you’re on a sensitive SPS system, they will begin to stress from as little as a 0.1ppt swing over time. It’s not hard math to figure out that tighter gaps = more stable, assuming your sensor can handle it. Tighten up your switches!
Sensors are not created equal. Mechanical float switches has physical travel and inertia. They must be given enough space to move without sticking or bouncing around. Light-based (optical) sensors has no moving parts yet can measure to within millimeters as the level changes. How these factors play out is made clear by reference table on the page which shows that various sensing techs have varying buffer requirements depending on planning.
Selecting a sensor isn’t just an issue of cost but also one of resolution match between sensor and chamber geometry. That huge, roiling return bay may trigger your high-precision optical probe too frequently from wave action, leading to wear on pumps. A tiny nano cube may be overpowered by your mechanical switch that has to wide a dead band to prevent salinity creep.
There’s a bit more detail around pump size as well. Boxes list rated flow in gallons per hour at zero head pressure with straight pipes. That means all the tubing length, elbows, and even vertical lift steal some performance. It’s not being pessimistic when I say you should of derate your flow by thirty percent or more. It’s real life.
If you think your pump flows seventy gallons an hour and it actualy flows fifty because of head loss, then your runtimes won’t match up. Your fills will take longer and you might miss cycles where the controller shuts off too soon. Finally, there is testing. Most folks never get here until they have an issue.
Sure you can model it all out on paper, but water doesn’t act like a spreadsheet. Time the trigger points and fill the sump yourself. This is the ground truth. If it takes the pump 90 seconds to fill in the gap, then make sure your controller isn’t set to cutoff before then.
Add a backup high level sensor positioned well above your normal operating range as insurance just in case one of the other switches fails. A small bit more money now, but huge headaches down the road. All that being said, the stability of your auto top off is a matter of controllable things you can measure. Room temperature is not something you control easily. Humidity is not something you control at all.
Pump selection is one thing. Switch placement is another. Begin by having shorter cycles and smaller gaps. Allow the system to adjust in small steps instead of in huge ways. It’s going to make your reef thank you for the consistency, and you will no longer have to worry about waking up to unexpected mornings. The gap is small but the impact is huge.