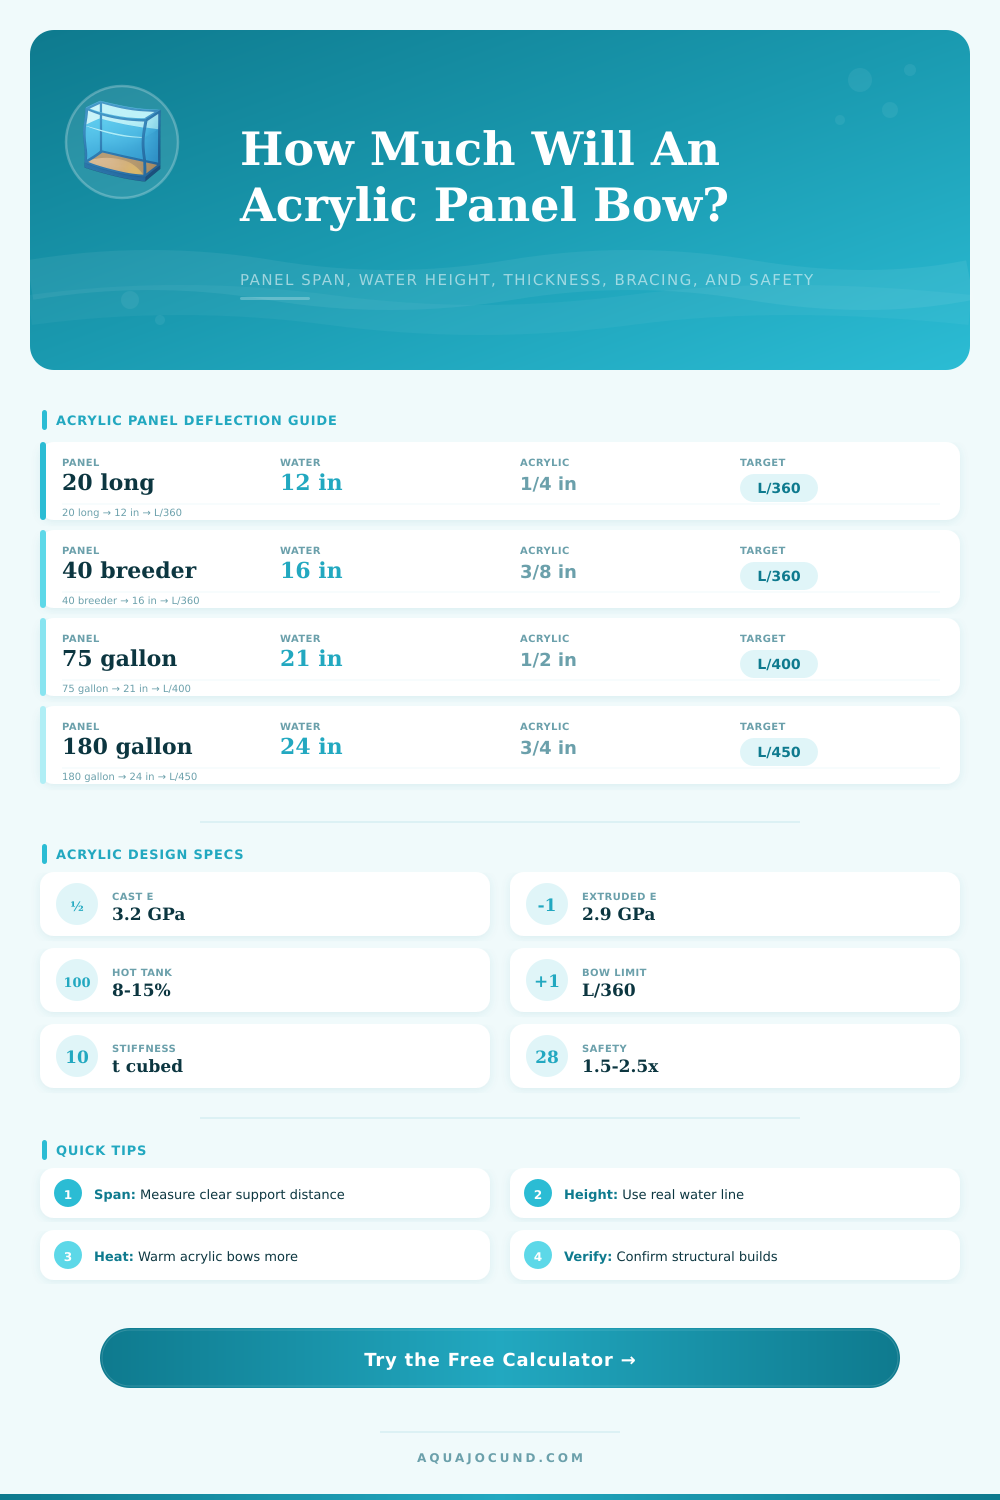
Acrylic Panel Deflection Calculator
Estimate aquarium acrylic panel bow from span, water height, thickness, brace spacing, modulus, allowable bow, safety factor, and heat allowance.
Calculation Breakdown
| Nominal Acrylic | Best Used For | Deflection Note | Common Brace Plan |
|---|---|---|---|
| 1/4 in / 6 mm | Small sumps, lids, shallow dividers | Flexible over long spans | Short spans or frequent baffles |
| 3/8 in / 10 mm | Small displays and shallow frag tanks | Good only with modest water height | Eurobrace or short front panel |
| 1/2 in / 12 mm | Medium display fronts | Common starting point for 48 in panels | Eurobrace or center brace |
| 5/8 in / 16 mm | Deep medium tanks | Noticeably stiffer than 1/2 in | Eurobrace with wider openings |
| 3/4 in / 19 mm | Large display panels | Better long-term bow control | Eurobrace plus cross support |
| 1 in / 25 mm | Large custom builds | High stiffness, heavy panels | Engineered top layout |
| Water Height | Bottom Pressure | Average Pressure | Why It Matters |
|---|---|---|---|
| 12 in / 30 cm | 0.43 psi / 3.0 kPa | 0.22 psi / 1.5 kPa | Small tanks can still bow if spans are long. |
| 18 in / 46 cm | 0.65 psi / 4.5 kPa | 0.33 psi / 2.2 kPa | Common display height; bracing starts to matter. |
| 24 in / 61 cm | 0.87 psi / 6.0 kPa | 0.43 psi / 3.0 kPa | Deep panels need conservative thickness choices. |
| 30 in / 76 cm | 1.08 psi / 7.5 kPa | 0.54 psi / 3.7 kPa | Large builds should be professionally checked. |
| Support Condition | Model Factor | Typical Use | Planning Note |
|---|---|---|---|
| Rimless top edge | 1.25x bow | Small shallow tanks | Least forgiving for acrylic creep. |
| Bonded vertical sides | 1.00x bow | Basic front or side panel | Uses clear span between bonded edges. |
| Eurobraced top | 0.82x bow | Most acrylic displays | Top flange reduces free-edge movement. |
| Crossbraced opening | 0.68x bow | Large display tanks | Shorter effective tributary height. |
| Internal baffle | 0.55x bow | Sumps and partitions | Baffles often have shorter water height. |
| Scenario | Typical Span | Water Height | Conservative Starting Point |
|---|---|---|---|
| Small nano front | 20 in / 51 cm | 10-12 in / 25-30 cm | 1/4 to 3/8 in acrylic with braced top. |
| 40 breeder front | 36 in / 91 cm | 15-16 in / 38-41 cm | 3/8 to 1/2 in depending on top brace. |
| 75 gallon front | 48 in / 122 cm | 20-21 in / 51-53 cm | 1/2 in or thicker with eurobrace. |
| 120 gallon front | 48 in / 122 cm | 23-24 in / 58-61 cm | 5/8 to 3/4 in with top support. |
| 180 gallon front | 72 in / 183 cm | 23-24 in / 58-61 cm | 3/4 in or thicker with crossbracing. |
When most folks construct an acrylic aquarium they are trying to create a seamless, clean appearance. They envision a piece of glass looking like a pane of glass with nothing behind it, just perfect still water. In reality, you just need to know about the material and how it behaves under pressure to manage it.
Acrylic is designed to bend not break. That’s why it is safer for larger tanks. Over time your front panel will bow out. Your goal isn’t to remove that motion altogether. Rather, it is to maintain the amount of motion in a range so the tank doesn’t look balloon-like and does not leak.
How to Use the Acrylic Tank Calculator
By plugging in the thickness, water height and span, the calculator does all the figuring for you, no more guess work about how much actual stiffness you might require. First, measure the clear distance between the supports as this is typically not going to be the total length of glass. This will be the open area that must resist the water without any support from a side bond or top brace.
If you do have one or more eurobraces running across the top, then those flanges are essentially like fixed edges and will alter the distribution of the load. Nothing holding the corners snugly into place also increase demands on the panel, especially with a rimless design.
Pressure isn’t even, either. As you go higher, there is less pressure, which means the top of the water pushes back on you with less force then the bottom does. How deep the water is matter, a lot. And when it says “water height”, it means operational, not rim height. What’s the difference? If you fill to the brim each day then enter that. But maybe you don’t fill to the brim because you like some room at the top (headroom). Enter that instead. You’ll be surprised what a little change this can make to the total load calculation and so your safety margin.
The other common mistake builders make is to try to fix things by throwing a bit more on to make them thicker. The problem with acrylic is that its stiffness is cubic, so if you double the thickness, you don’t double the stiffness. What you do is increase it by a factor of eight, which is what folks miss. Jumping from 3/8 to 1/2 inch gets you way more bang for the buck than going from 1/2 to 5/8 inches. Stopping somewhere reasonable and then bracing is far better than having these overly thick pieces that are difficult to bond and cut.
It’s not talked about much, but temperature matters too. Over time in a warm tank, the acrylic softens a little. The material literal flows slightly (creep) from long exposure to loads, particularly with a tropical setup and/or metal halide lighting. Ten percent thermal softening margin isn’t paranoid; rather, it’s insurance against a panel that appears ok on day one but then bows noticeably two years later.
Included with the calculator is a series of reference tables that provide real world examples for common scenarios so you can compare your build to what has been established as normal. For instance, most front 75’s requires no less than a half inch material, with some sort of top support. Bigger sizes require even stronger design considerations. You also have the option of adjusting the safety factor based on whether this will be a long-term build that requires decades of service, or something like a sump or other temporary setup where looks take a back seat.
All told, this equation is simply a planning tool to help you determine whether or not your plan puts you in the safe zone prior to spending several hours gluing your joints together. You should of used it earlier. After all, once you’ve got your tank put together, the solvent weld‘s chemistry will take over, meaning proper clamping time and good seams are just as important as the size of the sheets themselves.
Use these numbers as your starting point and know the limitations of the material. You should end up with a tank that maintains its shape, keeps your fish happy, and allows for clear water. This is important because you can best see how flexible the support structure behind the water realy is through the clear water itself.