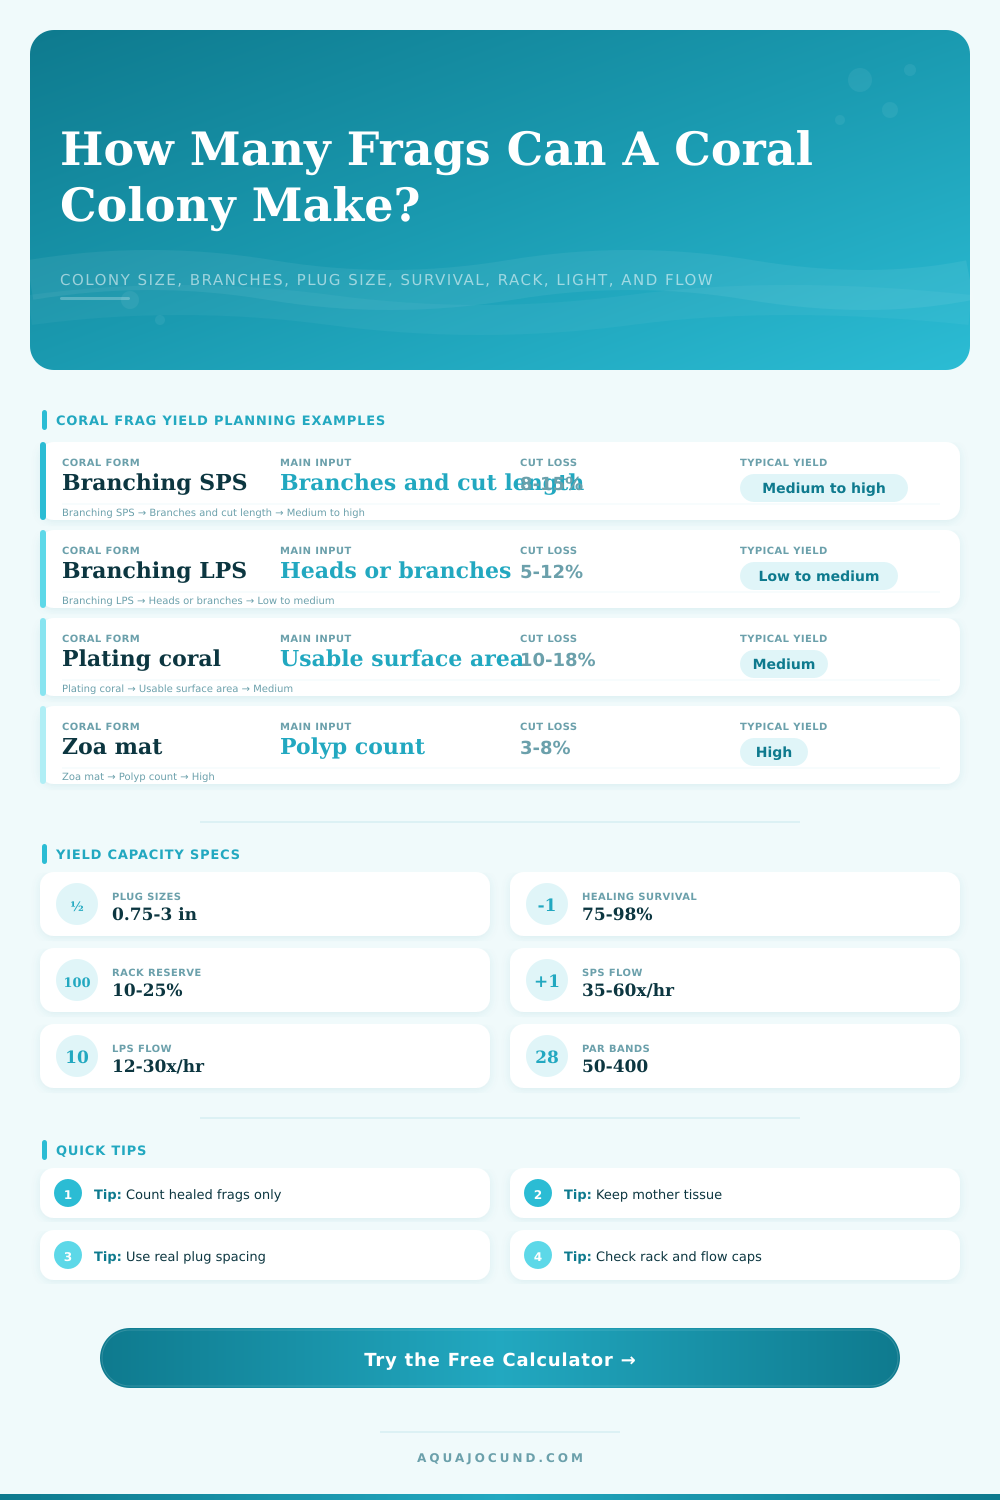
Coral Colony To Frag Yield Calculator
Estimate mountable and healed frags from colony diameter, branch count, plug size, cut loss, healing survival, rack slots, light footprint, and flow turnover.
Calculation Breakdown
| Profile | Yield Basis | Common PAR | Flow Band | Planning Notes |
|---|---|---|---|---|
| Acropora branching SPS | Branches and cut length | 250-400 | 35-60x/hr | Higher cut loss and wide spacing keep bases clear. |
| Birdsnest or pocillopora | Branch tips | 180-320 | 30-55x/hr | Many branch tips, but fragile cuts need handling margin. |
| Montipora digitata | Branch sections | 160-280 | 25-45x/hr | Moderate branch yield with medium plug spacing. |
| Montipora cap or plating SPS | Surface area | 140-260 | 25-45x/hr | Use surface mode and leave a retained center plate. |
| Euphyllia branching LPS | Heads or branches | 80-180 | 12-30x/hr | Lower session yield, larger plug or disk spacing. |
| Zoanthid or palythoa mat | Polyp count | 70-180 | 10-30x/hr | Polyp mode works best when colony polyps can be counted. |
| Mushroom or ricordea | Surface or polyp count | 50-120 | 8-20x/hr | Large disks or rubble cups often reduce rack count. |
| Chalice or encrusting LPS | Surface area | 80-180 | 10-25x/hr | Surface mode with higher tissue area per frag is conservative. |
| Plug Or Tile | Footprint | Default Clearance | Typical Use | Slots Per Sq Ft |
|---|---|---|---|---|
| 0.75 in nano plug | 0.44 sq in | 0.35 in | Small zoa, small SPS tips | About 119 |
| 1.0 in standard plug | 0.79 sq in | 0.45 in | General mixed fragging | About 69 |
| 1.25 in wide plug | 1.23 sq in | 0.50 in | SPS, zoa, small LPS | About 47 |
| 1.5 in disk | 1.77 sq in | 0.60 in | Encrusting grow-out | About 33 |
| 2.0 in grow-out disk | 3.14 sq in | 0.75 in | LPS and plating starts | About 19 |
| 2 x 2 in tile | 4.00 sq in | 0.75 in | Zoa or encrusting mats | About 19 |
| 3 x 3 in tile | 9.00 sq in | 1.00 in | Large grow-out pieces | About 9 |
| Rubble cup footprint | 4.91 sq in | 0.75 in | Mushrooms and loose rubble | About 14 |
| Tank | Dimensions | Approx Volume | Lighted Area | 1.25 In Plug Capacity |
|---|---|---|---|---|
| 20 long frag tank | 30 x 12 x 10 in / 76 x 30 x 25 cm | 15-17 gal / 57-64 L | 2.1 sq ft | 55-70 frags |
| 40 breeder low rack | 36 x 18 x 14 in / 91 x 46 x 36 cm | 30-34 gal / 114-129 L | 4.0 sq ft | 100-130 frags |
| 48 in shallow frag tank | 48 x 24 x 12 in / 122 x 61 x 30 cm | 55-60 gal / 208-227 L | 7.0 sq ft | 175-225 frags |
| 72 in raceway | 72 x 24 x 12 in / 183 x 61 x 30 cm | 82-90 gal / 310-341 L | 10.0 sq ft | 250-320 frags |
| Coral Group | PAR Planning Band | Flow Turnover | Capacity Check |
|---|---|---|---|
| Low light soft coral | 50-120 | 8-20x/hr | Usually rack or plug footprint limited first. |
| Zoanthid mat | 70-180 | 10-30x/hr | High yield can exceed rack slots quickly. |
| Branching LPS | 80-180 | 12-30x/hr | Use larger spacing and avoid high direct blast. |
| Montipora SPS | 140-280 | 25-45x/hr | Lighted footprint often sets the cap. |
| Acropora SPS | 250-400 | 35-60x/hr | Flow and spacing should be checked together. |
Healthy Acropora colony, you’re standing over it, pliers in hand, and suddenly…you hesitate? What’s the maximum number of frags before you kill the mother? Will they even fit on your rack? You might ruin one of your prize specimens.
Yep, that fear is real. But most times, the math isn’t as complicated as you might think. And this calculator do all the heavy lifting, taking all your tank specs and colony dimensions and crunching them together to give you a realistic idea of what you’ll get.
How to Frag Corals Safely
From branch length to light footprint, it takes everything into consideration, saving you from the guesswork that often results in crowded racks and lost corals.
Healed Frags = Cuts… Cuts Lost Hobbyists mistakenly count raw cuts as if they were healed fragments. You must immediately consider the healing survival rate and cut loss. There is a huge difference between the number of pieces you snipped from a colony and how many will survive long enough to thrive.
For example, branching SPS corals typically lose ten to fifteen percent of their cuts to failed healing or simply due to trimming out unwanted parts. If you don’t account for this drop-off, then you’ll be planning for a batch that’s twenty percent bigger than what your system can handle. This is where people goes wrong, they buy a plug for each cut rather than for each survivor.
Colony size and retained mother core matter are more than you’d expect. By leaving a tiny bit of center, the parent colony will be able to re-grow (making this a renewable crop), which means you get repeatable harvests instead of one-time harvests. These are repeatable harvests. This determines how much actual tissue can be harvested and is used in calculator. It’s a balance between quick gains and lasting gains.
Strip everything from the colony? A lot today. Zero tomorrow. Leave some sort of central core? You get less at first, but the colony stays a source of parts for years to come.
Another factor determining what you can actualy do is plug size. Sure, nano (three-quarter inch) plugs fit on a rack better than one-inch plugs, which require a lot more space. This is where tank shape matter. How many of these plugs will physically fit into your usable light footprint? That’s what the tool calculates.
In a dedicated frag tank, it’s often not volume or flow that limits you; it’s light. Your frag tank may be able to hold tons of water and move lots of water, but if the footprint of your LEDs doesn’t reach all the way across the rack, you’ll have problems with those end frags.
There are many different corals out there and they require a wide range of flows. Some, like Acro, want high flow so detritus doesn’t settle on them and others, such as Euphyllia, prefer more gentle, directed flow. To do this, the calculator will test your pumps against the capacity of your tank to see if your turnover meets the coral’s need based off the profile you chose.
Too little flow can lead to bacterial blooms. Too much flow can tear delicate tissue off of fresh coral mounts. It’s part of the puzzle to find that sweet spot.
Leave some space in the racks. You may be tempted to pack your frags tightly to save space. However, this cause problems with dead spots that is impossible to clean. It will make maintaining your tank feel like madness.
The tool reserves space for ease of access and water flow. So when you need to remove a plug, you won’t knock three others over because you don’t have enough room. It is a small detail, but it is very important for sanity in the long run.
Fragging is an exercise in managing expectations. Your success will depend upon patience and water quality, the calculator provides a ceiling. Take it as a guideline, not a guarantee.
Go into it conservatively, account for error, and understand that having one healthy growing colony is better than a whole rack of barely hanging on frags. Dead is forever; once it’s gone, it’s gone. Cut more if necessary, but you would of not been able to un-cut a dead colony.