Aquarium Stand Plywood Sheet Calculator
Estimate plywood sheets, panel area, cut waste, and finished stand skin weight from tank footprint and cabinet panel choices.
Plywood Sheet Estimate
| Plywood Type | Typical Thickness | Approx Density | Stand Planning Use |
|---|---|---|---|
| Marine plywood | 3/4 in / 19 mm | 40 lb/ft3 | Moisture-prone cabinet skins and decks |
| Birch cabinet plywood | 3/4 in / 19 mm | 43 lb/ft3 | Painted or sealed cabinet panels |
| Exterior ACX plywood | 3/4 in / 19 mm | 34 lb/ft3 | Utility stands with sealed faces and edges |
| Hardwood plywood | 3/4 in / 19 mm | 42 lb/ft3 | Visible cabinet-grade side panels |
| MDF-core plywood | 3/4 in / 19 mm | 48 lb/ft3 | Flat painted panels kept away from splash zones |
| Birch plywood | 1/2 in / 12 mm | 43 lb/ft3 | Light doors, backs, and non-structural skins |
| Tank Size | Footprint | Metric Footprint | Typical Plywood Need |
|---|---|---|---|
| 10 gallon | 20 x 10 in | 51 x 25 cm | 1 sheet for decks and partial skin |
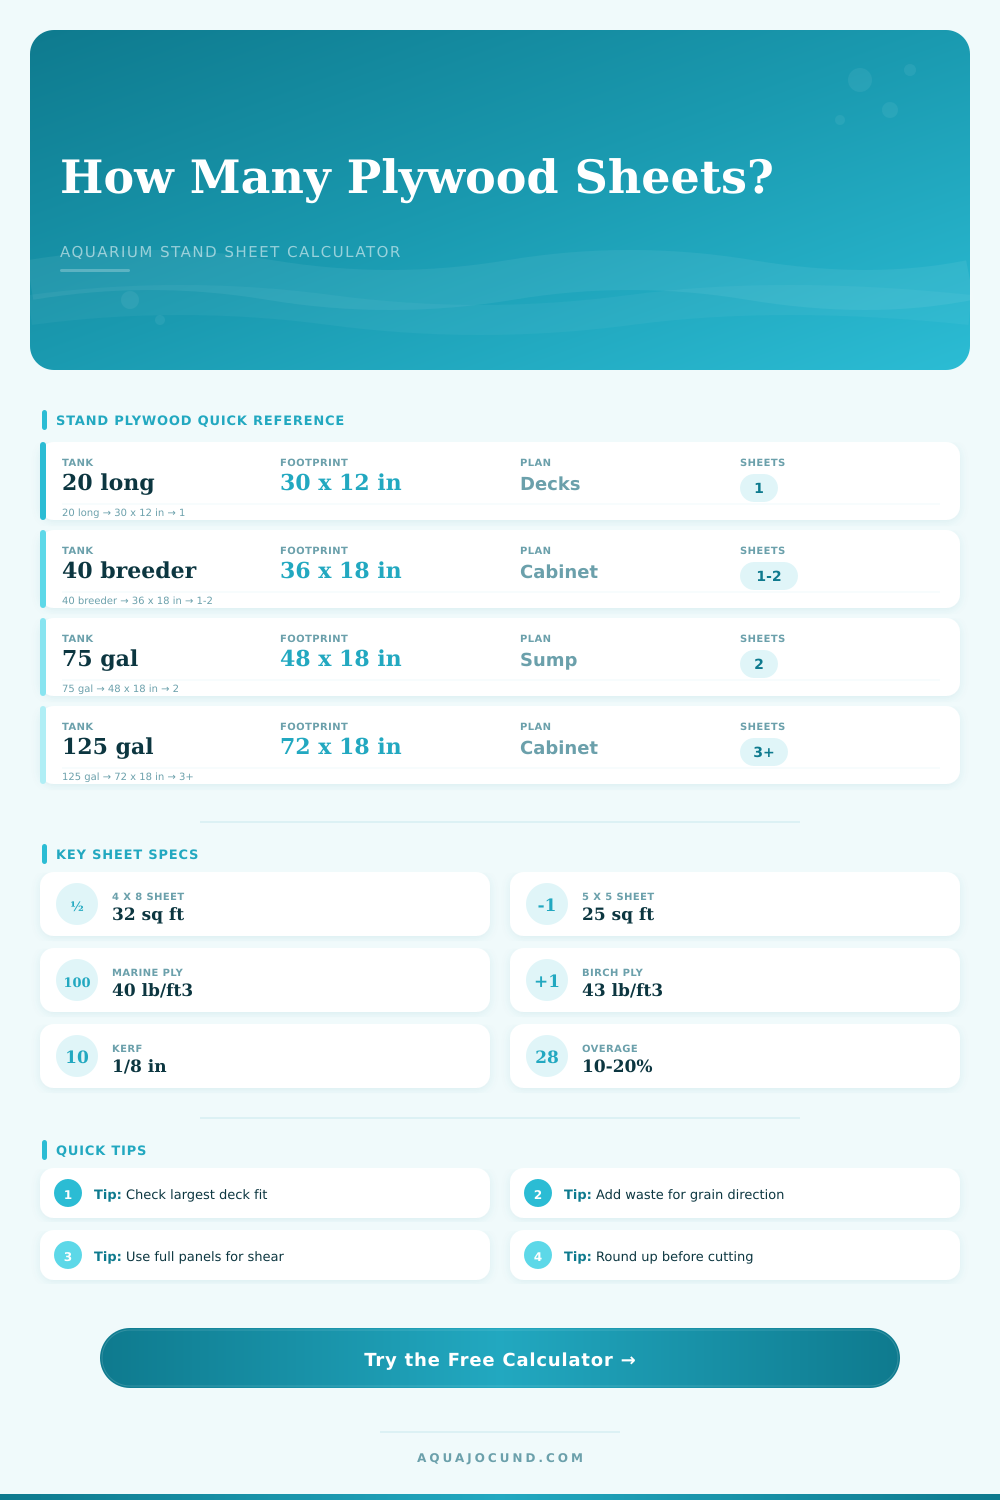
| 20 long | 30 x 12 in | 76 x 30 cm | 1 sheet for open stand panels |
| 29 gallon | 30 x 12 in | 76 x 30 cm | 1 to 2 sheets for cabinet skin |
| 40 breeder | 36 x 18 in | 91 x 46 cm | 1 to 2 sheets with sump divider |
| 55 gallon | 48 x 13 in | 122 x 33 cm | 2 sheets for deck, sides, and back |
| 75 gallon | 48 x 18 in | 122 x 46 cm | 2 sheets for sump cabinet layout |
| 125 gallon | 72 x 18 in | 183 x 46 cm | 3 or more sheets for full cabinet panels |
| 180 gallon | 72 x 24 in | 183 x 61 cm | 3 or more sheets with doubled top deck |
| Panel Group | Area Formula | Count Basis | Sheet Planning Note |
|---|---|---|---|
| Top deck | stand length x stand width | top layer count | Check whether it fits on one sheet |
| Bottom shelf | stand length x stand width | bottom layer count | Often cut from remaining deck offcuts |
| Side panels | stand width x stand height | two sides x coverage | Full sides add lateral stiffness |
| Back panel | stand length x stand height | back coverage percent | A single back panel works as a shear panel |
| Front frame | rails plus stiles | strip width input | Door openings reduce panel area |
| Dividers | stand width x stand height | divider count | Useful around sump compartments |
Tank building is more an exercise in structural engineering than practice of marine biology. You want to build planted or reef tank. You discover you are now working on plywood scraps, wondering if floor joists still has enough strength.
What you do with the plywood determine the result. Selecting a sheet isn’t the only step. It also isn’t cutting out a shape. You also need to know sheet size, the panel layout, and amount of waste material. Once you have the tank footprint and what you want built, this calculator does math for you. This way, you don’t make mistakes by converting and doing geometry by hand.
How to Plan Your Tank Stand Build
Note the distinction between usable panel area and sheet area. Thirty two square feet of material come in a standard four-by-eight foot sheet. That sounds like a lot of room… until you attempt to fit an eighteen inch by forty eight inch side panel onto it while leaving enough room for top deck and a back panel.
Direction of the grain is very important here. You want long grain running perpendicular to the span of your deck or shelf. This maximizes stiffness of the panel. Cutting out panels with short grain crossing over the span of the deck invite sag.
The reference table below is a guide as to which size tanks maps to what size sheets. One sheet may suffice if you have a twenty-gallon long tank with extra room. Three or more sheets may be required for the shell of a hundred-twenty five gallon system. Moving from one sheet to multiple sheets make the logistics of the project completely different than before.
Don’t forget waste: There’s no such thing as a free lunch. That waste allowance in the tool isn’t some kind of penalty. It is a reasonable guess about how much material will be used by layout changes, unusable leftovers, and width of the saw cuts. A high-waste allowance is called for if you have complex joinery or a stand with doors, for instance.
You can tweak this number in the calculator (which is why it matters). Most folks overestimate this one. They figure out the surface area of their boxes and order just enough plywood to make those. Then they run out somewhere in the middle. Why? Because raw square footage doesn’t take into consideration shape of what you’ll be cutting out of a rectangle.
The second factor is material. For durability, marine plywood are used because of its moisture resistance. It features high quality veneers and waterproof adhesive to prevent delamination. Birch plywood is another good option; a strong, dense alternative that takes paint beautifuly.
With this app, you can choose the material type and weight estimate will be updated appropriately. Depending on the species, density change. Marine ply might weigh forty pounds per cubic foot. Birch may be forty-three pounds per cubic foot. On paper, that doesn’t seem like a lot. But if you’re lugging those sheets upstairs or estimating how much weight sits on floor of your basement, that makes a big difference. A heavier stand will be more stable, but it will need beefier framing beneath it too.
Small details matter, such as stand height and overhang. Stand height and overhang appear unimportant inputs on paper. But they’re crucial to the structure’s strength. Racking (sideways distortion of a rectangle to become a parallelogram) increase with stand height. That’s why the calculator factors in the back panel coverage; because the back panel serves as a shear panel to resist racking. A simple box becomes incredibly stiff when fully covered by a back panel; you’ll notice that reducing that coverage affects the material estimate.
Open-back designs are popular among some builders because they allow airflow. Fair enough. Just know that it needs stronger framing elsewhere to stay stable.
Perhaps the most useful output of all is the weight estimate. Knowing the total weight of the plywood help you plan for lifting and moving it. Before you even consider water and glass, a full enclosed cabinet around a large tank will be more than a hundred pounds. Side panels, dividers, and multiple layer add up. It’s easy to underestimate the sum of the parts. The tool calculates that sum and gives you a reasonable estimate. That estimate tells you if you might want to strengthen your floor joists or if you’ll need some assistance getting the stand moved.
You don’t want to run out in the middle of a project to buy stuff… and you certainly don’t want to come back from the store with a left over sheet because you bought too much or didn’t measure correctly. You should of measured twice. It’s about finding the sweet spot between being realistic and precise. Pull out the tool and let it give you your starting point. Add a bit of padding for error. At some point we all cut something wrong. That extra padding will allow the project to keep flowing without grinding to a halt.
When you’re working with the proper resources, this whole thing seems more crafting than building. Have your starting point figured out first. Rely on the estimated weight. Make a slow cut. Doing these things will make sure that not only does your stand look good but it can hold up to whatever life and water you’re trying to support.