Dry Rock to Live Rock Ratio Calculator
Estimate total reef rock, split it into dry and live rock, and adjust the seed ratio for curing stage, porosity, and aquascape density.
🌊Quick reef presets
⚙Tank and rock inputs
Use display volume instead of sump volume for aquascape rock. The calculator adds optional margin for broken pieces, rubble zones, and dry fitting.
🪨Selected rock specs
📊Dry and live rock ratio guide
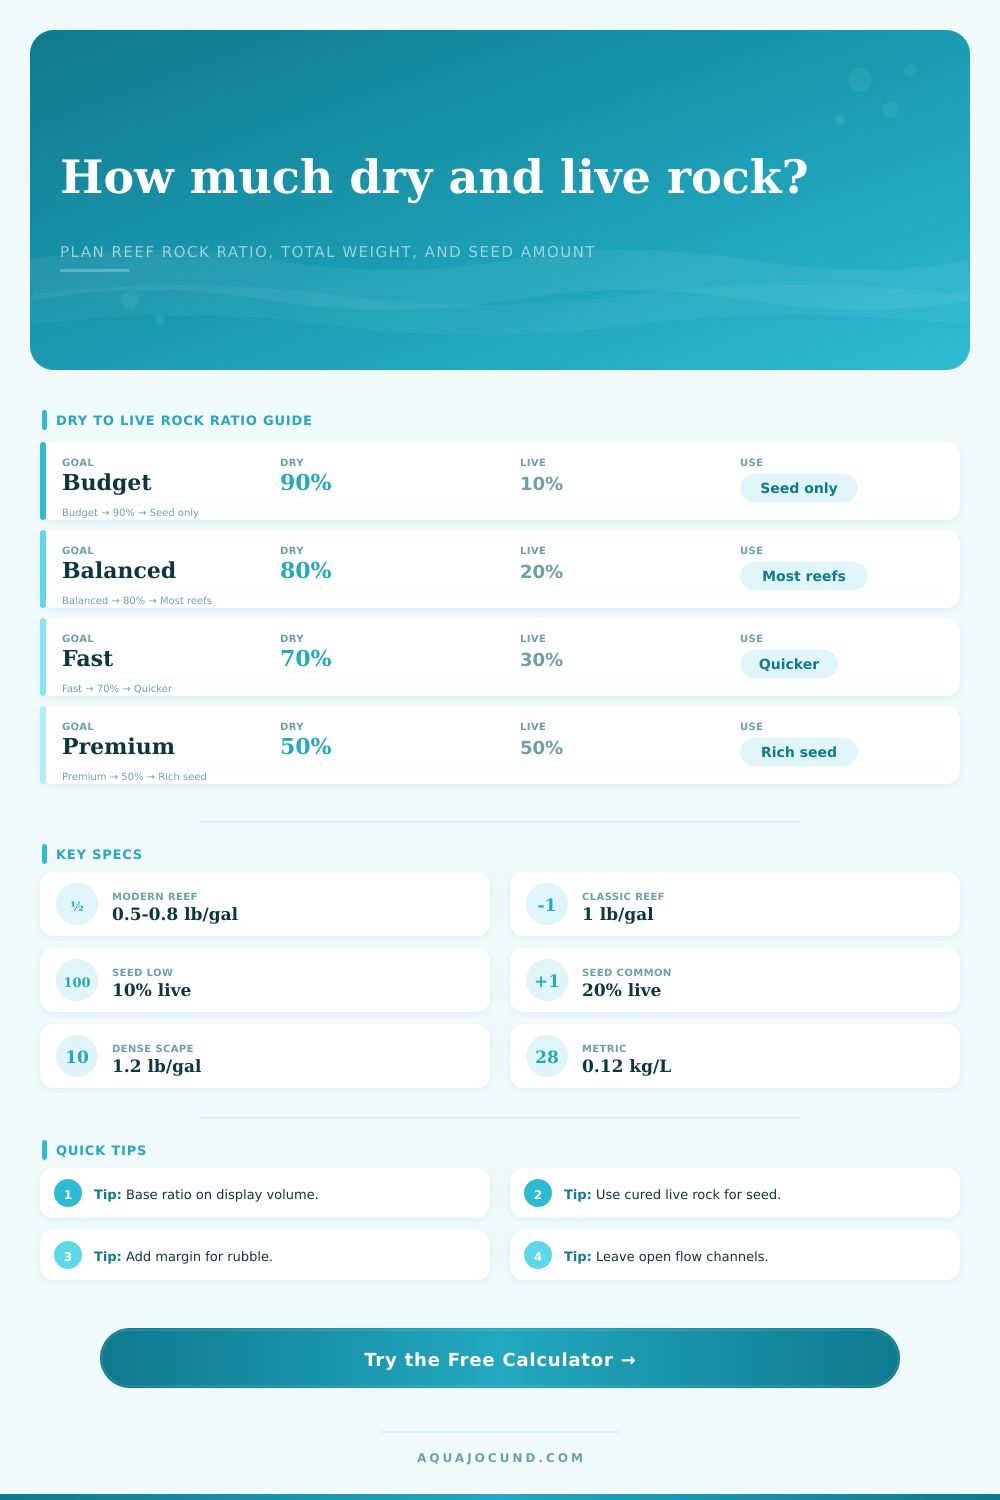
| Planning goal | Dry rock | Live rock | Best fit |
|---|---|---|---|
| Seed-only start | 90% | 10% | Patient reefers using bottled bacteria, established media, or long curing time. |
| Balanced new reef | 80% | 20% | Common dry rock to live rock ratio for controlled biodiversity with moderate seed. |
| Faster biodiversity | 70% | 30% | Good when the live rock is cured, pest-screened, and placed in high-flow areas. |
| Heavy live rock seed | 60% | 40% | Useful for pod, sponge, and coralline transfer when live rock quality is trusted. |
| Half dry, half live | 50% | 50% | High biological seed with less patience needed, but more inspection is required. |
🧪Rock type comparison
| Rock type | Planning factor | Scape behavior | Ratio note |
|---|---|---|---|
| Porous reef dry rock | 0.78 | Bulky, light, many holes | May look full before reaching classic pounds per gallon. |
| Shelf or plate dry rock | 0.88 | Wide ledges, moderate mass | Excellent for open reefs with fewer pounds and strong coral placement. |
| Branch dry rock | 0.72 | Open structure, low contact | Use a lower total weight and keep live rock in sump or hidden pockets. |
| Dense base dry rock | 1.08 | Compact, heavy, stable | Needs more weight for height but may reduce swimming space quickly. |
| Rubble and frag base mix | 0.95 | Small pieces, high contact area | Count rubble as rock if it stays in the display or refugium long term. |
| Pre-seeded dry rock | 0.82 | Dry shape with bacterial start | Can reduce live rock need, but still benefits from a small cured seed. |
📏Common reef tank rock estimates
| Tank | Typical dimensions | Open scape | 20% live seed |
|---|---|---|---|
| 10 gallon nano | 20 x 10 x 12 in | 6.5 lb total | 1.3 lb live, 5.2 lb dry |
| 20 long reef | 30 x 12 x 12 in | 13 lb total | 2.6 lb live, 10.4 lb dry |
| 40 breeder | 36 x 18 x 16 in | 26 lb total | 5.2 lb live, 20.8 lb dry |
| 75 gallon reef | 48 x 18 x 21 in | 48.8 lb total | 9.8 lb live, 39 lb dry |
| 125 gallon display | 72 x 18 x 21 in | 81.3 lb total | 16.3 lb live, 65 lb dry |
⏱Seed ratio expectations
| Live rock share | Biological seed | Typical use | Planning caution |
|---|---|---|---|
| 10% | Low to moderate | Long dry rock cure or very patient startup | Expect slower coralline and microfauna spread. |
| 15% to 20% | Moderate | Most controlled dry rock reef starts | Place seed pieces where flow passes through the dry structure. |
| 30% | Strong | Faster biodiversity without going mostly live rock | Inspect for pests and allow nutrient swings to settle. |
| 40% to 50% | Very strong | High-diversity displays and quick biological coverage | Only use trusted cured rock for this much seed. |
💡Planning notes
Beginners frequently get lost when setting up their reef tanks, wondering how much live rock (seed) and how much dry rock to buy… Staring at it all and thinking about what makes sense.
That’s not a chemistry question, its an architecture question; it’s about coming up with a solid plan for how much rock needs to be in your tank based off its size. Enter this calculator. It take your tank size and converts it into a real weight plan. It splits the difference between bio-live rock (seed) and structure-dry rock, letting you focus on looks instead of math.
How to Plan Your Reef Tank Rocks
Density is key variable here. It is not necessarily density of the stone itself, but rather the density of your vision. Do you envision a classic wall of rock towering above the tank? Or do you prefer a more open and moddern appearance with shelves for corals?
Either way, you’ll notice the math can change dramaticly depending on your style choice. While a dense reef wall would require almost a pound of rock for every gallon of water, an open and minimal design may only demand less than half that amount. Choose the incorrect density, however, and either your tank will feel cramped (before you even get one coral) or look barren once you have corals in place.
The calculator takes care of converting gallons to pounds, accounting for the size of your tank (i.e., a tight nano vs a spacious display). After you plug in your combined weight, it divides it across dry and live rock. Here’s where you use your tank cycling plan.
A healthy biological filter doesn’t require fifty percent of your tank to be live rock! In fact, most veteran keepers actualy like having fewer. About twenty percent, live rock and the remainder dry. Not only does that allow you some greater control over the aquascape configuration, it also introduces enough level of beneficial microfauna and other bacteria to initiate the cycle. The page has a reference table that explains this clearly. It shows that more live rock builds biodiversity faster, but it also increases the chance of bringing home unwanted guests.
Similarly important to the ratio is the type of rock you use. Some rock types has high porosity and are therefore bulkier and lighter (you’ll be able to get a lot of structure in there without exceeding your weight limit). Other types are denser and thus take up less physical space while weighing more (fewer pounds will look like the same amount of “rock”). The calculator factors this in, so depending on the rock material(s) you pick, the recommended total weight adjust accordingly.
For example, maybe you’re stocking with some pre-seeded dry rock and don’t necessarily need as much live rock to meet your cycling targets. When you are planning your purchase, small details matter. Also keep in mind margin for error. Sometimes a rock will break, or you’ll need to trim some pieces, or maybe that one rock won’t quite fit into that spot like you wanted.
By adding a ten percent margin on top of the calculation, you’ll have plenty of material to play around with and it will save you the headache of discovering halfway through the build you’re short three pounds of dry rock. If you set the calculator to add a buffer, it will do so automatically and give you a realistic number instead of a theoretical minimum.
There’s also a wrinkle here about the live rock condition. Cured live rock from an established system will be less expensive and generally free of unwanted hitchhikers compared than fresh live rock straight from the farm or the ocean. You can account for that with the tool and determine your level of risk tolerance. With cured rock, you can get away with more (higher percentage) since the risk of pests is less. With fresh rock, you may want to be conservative. Stick closer to the lower end of the seed ratio so you don’t get too much of a headstart on managing initial load.
You should of planned for this. So what’s it all mean? It is a balance between dry rock for an attractive, sturdy framework and live rock to encourage coralline algae growth and get the biological cycle started.
Again, math will tell you where to begin but ultimately, use your eyes. Don’t follow the calculator blindly, treat its findings as a starting point only. Lay down the structure first and place your seed rock into the holes/gaps. This way you have a tank that both functions well and looks good while avoiding any guesswork.
The math is simple…the art is in the placement.