SPS Coral Spacing Calculator
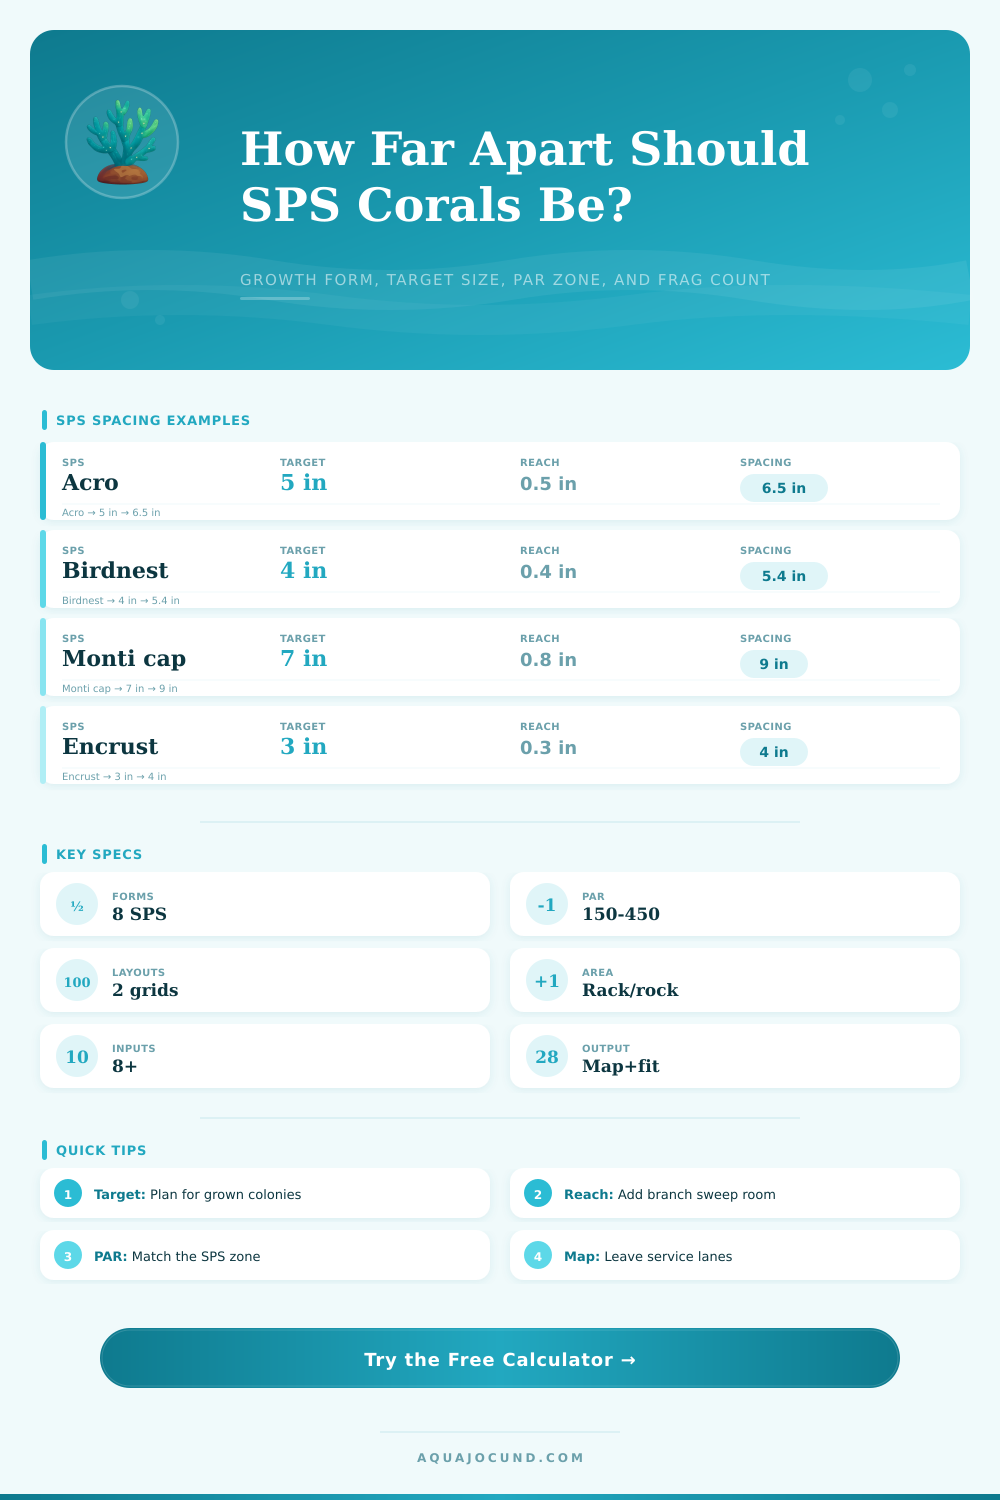
Plan SPS frag spacing by growth form, branch or sweeper reach, target colony size, frag count, rack or rock area, and PAR zone.
SPS spacing plan
| Growth form | Spacing modifier | Common target | Best layout |
|---|---|---|---|
| Branching Acropora | 1.00x | 4-7 in / 10-18 cm | Staggered rack or upper rock |
| Tabling Acropora | 1.20x | 5-10 in / 13-25 cm | Open ledge with side clearance |
| Birdsnest Seriatopora | 1.10x | 4-6 in / 10-15 cm | High flow row with pruning lane |
| Montipora cap | 1.35x | 6-12 in / 15-30 cm | Single ledge or isolated shelf |
| Encrusting Montipora | 0.85x | 3-6 in / 8-15 cm | Island rock or removable tile |
| Pocillopora | 1.05x | 4-7 in / 10-18 cm | Separate cluster with flow gap |
| PAR zone | Range | SPS fit | Spacing note |
|---|---|---|---|
| Low SPS edge | 120-180 | Monti, stylo, some birdsnest | Allow more room if growth leans toward light. |
| Moderate SPS | 180-250 | Mixed SPS and easier Acropora | Good default for a mixed frag rack. |
| High SPS | 250-350 | Most Acropora and shallow SPS | Keep branch tips out of shade cones. |
| Ultra high shelf | 350-450 | Light-demanding Acropora only | Leave acclimation space and avoid crowding. |
| Rack or rock area | Usable area | Typical SPS use | Planning caution |
|---|---|---|---|
| 12 x 8 in rack | 75-90% | Small grow-out batch | Leave a front row for removal. |
| 24 x 12 in rack | 70-85% | Mixed frag tray | Flow shadow appears behind large plugs. |
| 18 x 10 in rock shelf | 45-70% | Display top ledge | Irregular rock reduces real capacity. |
| 36 x 18 in aquascape | 50-75% | SPS dominant zone | Reserve alleys for pruning and glass tools. |
| Placement stage | What to measure | Adjustment | When to recheck |
|---|---|---|---|
| Fresh frags | Plug center distance | Use target colony size, not current nub size | After mounting |
| Encrusting base | Base spread and shadow | Rotate plugs before permanent encrustment | 4-8 weeks |
| Branch tips meet | Nearest living edge | Trim, trade, or move the weaker colony | Monthly |
| Display colony | PAR and flow after growth | Open service lanes before tissue recession | Every 2-3 months |
Watching one of your favorite Acropora shrink, turn white, and die as a branch of its neighbor sweeps across it is a unique type of heartbreak. It’s rarely the dramatic contact that causes the damage but instead more subtle theft of flow and light inches away. These aren’t corals you bought to sit in a tank starving due to crowding. More likely, issue is planning based off today’s frag size versus what this colony will become in the future. Accounting for this future growth by carefully measuring saves your tank.
After setting your growth goals, the calculator perform the geometry calculations for you. Gone are unit conversions and the guessing game around spacing coefficients. Generally, most hobbyists uses the diameter of the plug as a guide and space frags at 2-3X that dimension. This is assuming they’ll just grow in a straight line; which they don’t. SPS corals tend to branch out well beyond their calcified bases. Montipora that plates cast a shadow cone far beyond the physical perimeter of the plate. Not accounting for this biology result in tissue recession and/or eventual trimming.
Planning Space for Your Corals
To address this, the tool allow you to specify a target diameter and how far it reaches. This way, the final spacing consider what the actual mature animal will look like compared to nubby version in the nursery tank. For longevity, you really need to understand the distinction between edge clearance and center spacing. The former describes how closely you can cram colonies onto a rack; the latter tells you if they’ll survive that configuration. What looks good on paper (i.e., high density) won’t necessarily pan out.
Because what happens when you need to tweak a powerhead angle, scrape some algae off the rock face, etc.? When your colonies is snug, you can’t maintain any middle ones without messing up their neighbors. Messing with stressed SPS can be worse than not messing with them. By allowing at least half an inch of space between each colony, you create a service gap which allow for all subsequent maintenance without doing any collateral damage.
Spacing decisions also account for light distribution. Competition for photons increases with bright illumination. Therefore, strict separation is required between high PAR zones. On the flip side, you can generally cram more frags into low light spaces without worrying about imminent shading. There’s always a catch: Flow stagnation. That said, it shows the tradeoffs clearly.
These are shown as growth forms and their matching spacing modifier recommendations in the table at the top of page. An encrusting species require far less space than a plating one. They grow laterally and cast shade on any living things beneath them. No matter how well-maintained your water parameters are, viewing all SPS as equal in terms of spatial requirements is asking for trouble.
Another wrinkle comes from how flow interacts with things. How much does water move past the frag? Birdsnest species depends on turbulent flow to remove debris from the base. Branching species rely on it so polyps don’t extend into current. Placing fragments too closely also create a dead spot where one or both are blocked by the other. That’s a low-flow zone and all the debris will accumulate there. Localized poor water quality follows which may kill a single colony despite perfect water elsewhere.
To address this, calculator provides an input for a “flow access buffer” which expands the gaps accordingly depending on your flow profile. Keeping SPS takes planning and patience. You have to think of what the tank will be like in 6-12 months from now. It is not how it appears right now. You’re creating an ecosystem; one that changes and grows with time.
Structured spacing reduces stress on the livestock. Plus, it helps you maintain the system better. Your objective isn’t to cram more fragments onto a rack. Give every colony enough personal space to thrive without interference. Plan for the grown animal; give them room to breathe; give yourself room to work around them. Most of the headaches bothering mixed SPS systems stem from lack of this discipline.
You should of planned better. It is naturaly hard to see it all coming.