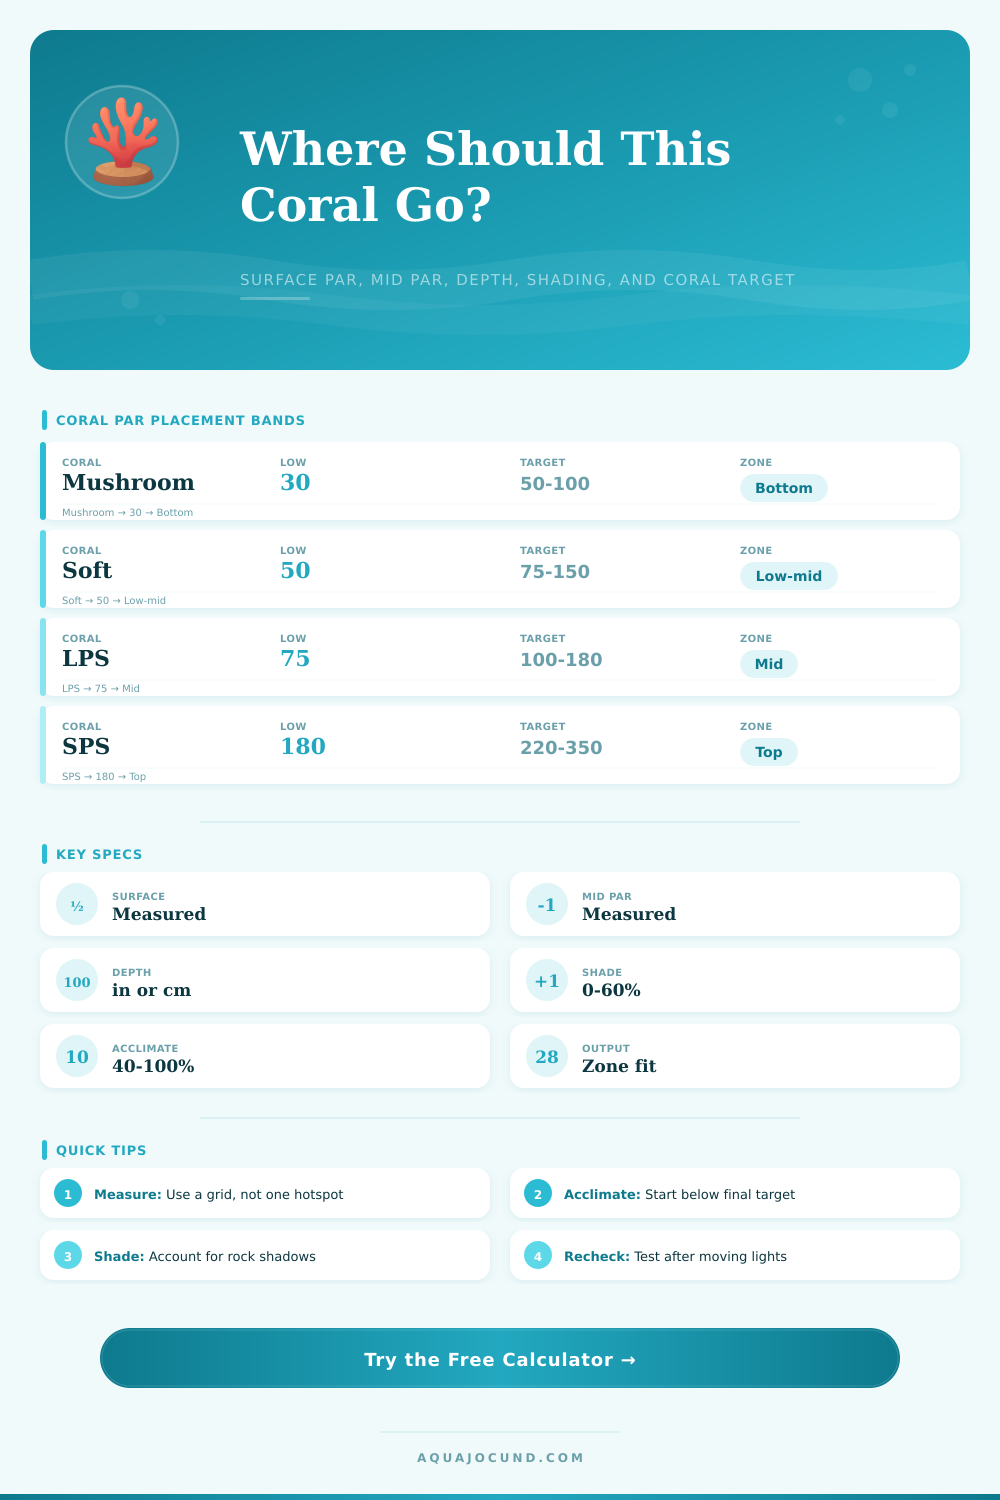
Coral Placement PAR Calculator
Estimate reef placement from measured surface PAR, mid-water PAR, depth attenuation, coral target band, acclimation reduction, and local shading.
Placement breakdown
| Coral Type | Low Edge | Target Band | High Edge | Usual Placement |
|---|---|---|---|---|
| Mushroom / ricordea | 30 PAR | 50 to 100 PAR | 130 PAR | Shaded bottom or lower side |
| Zoanthid / palythoa | 50 PAR | 80 to 160 PAR | 220 PAR | Lower to middle rock |
| Soft coral / leather | 50 PAR | 75 to 150 PAR | 220 PAR | Lower to middle reef |
| Low-light LPS | 60 PAR | 80 to 140 PAR | 180 PAR | Sandbed or lower shelf |
| Moderate LPS | 75 PAR | 100 to 180 PAR | 240 PAR | Middle shelf or open sand |
| Chalice / favia | 60 PAR | 80 to 160 PAR | 220 PAR | Lower shelf with partial shade |
| Montipora / plating SPS | 130 PAR | 160 to 280 PAR | 350 PAR | Middle to upper rock |
| Birdsnest / stylophora | 160 PAR | 200 to 320 PAR | 400 PAR | Upper middle flow zone |
| Acropora high light SPS | 180 PAR | 220 to 350 PAR | 450 PAR | Upper shelf with strong flow |
| Crocea or maxima clam | 200 PAR | 250 to 400 PAR | 500 PAR | Bright rock or shallow plateau |
| Water Profile | Loss per 10 cm | 20 cm Transmission | 40 cm Transmission | When It Fits |
|---|---|---|---|---|
| Ultra clear reef | 4% | 92% | 85% | Polished water, shallow path |
| Clear reef | 7% | 86% | 75% | Typical clear reef display |
| Normal reef | 10% | 81% | 66% | Some film, normal particles |
| Tint or particulates | 15% | 72% | 52% | Hazy water or shaded rack |
| Measured slope | Calculated | From meter | From meter | Best when two readings align |
| Zone | Depth Share | Typical PAR | Good Candidates | Planning Note |
|---|---|---|---|---|
| Top shelf | 0 to 25% | 220 to 450 | Acropora, clams, high SPS | Use acclimation and watch paling |
| Upper middle | 25 to 45% | 160 to 300 | Montipora, birdsnest, hardy SPS | Good test zone for many SPS frags |
| Middle shelf | 45 to 65% | 100 to 220 | LPS, zoas, moderate soft coral | Often easiest to tune with shading |
| Lower rock | 65 to 85% | 60 to 160 | Chalice, favia, low LPS, mushrooms | Check rock overhang shadows |
| Sandbed | 85 to 100% | 30 to 120 | Mushrooms, scolys, lower LPS | Lower PAR but open reflections vary |
| Adjustment | Calculator Formula | Typical Range | Placement Effect |
|---|---|---|---|
| Measured attenuation | Surface PAR times slope by depth | 4% to 15% loss per 10 cm | Predicts PAR below surface |
| Local shading | Depth PAR times open-light factor | 0% to 60% loss | Moves coral toward brighter zone |
| Acclimation start | Placement PAR times start percent | 40% to 100% | Sets first-week intensity |
| Risk buffer | Target band is softened or tightened | 0.90x to 1.08x | Protects new or stressed corals |
| DLI estimate | PAR times hours times 0.0036 | 1 to 12 mol/m2/day | Compares daily light dose |
If you purchase a high-light frag, typicaly you’d put it on top of highest rock shelf. Why? Because you want that piece of coral to do well so you give it sunniest spot. But that instinct fails to take into account how light behaves as it passes through aquarium water. It doesn’t travel in a straight line. It actualy scatters and breaks down. Before it ever hits the polyps, it is absorbed by dissolved organics and scattered by suspended particle.
So using a PAR meter (the tool above) to measure your tank makes more sense different than relying on wattage of your lights. But most hobbyists has a tendency to rely heavily on what they see on the surface. They think “if I see a good reading on the surface, then half way down should be fine.” Well, that’s not typically the case when you’re dealing with a real reef tank.
Why Light Changes Underwater
Depending on how you feed your fish, as well as your filters, water clarity can change significantly. Turbid water may lose 15% of its light strength for every ten cm of water depth. However, clear water, especially if mechanically filtered, may lose only 4% per ten cm. Because of this, the calculator allows you to choose from an attenuation profile. This matters because what works for putting a sensitive Acropora in heavy particulate laden water doesn’t work the same way as putting it in crystal clear water.
Knowing how much light falls at that depth, you then need to understand what type of corals you’re keeping. Many will retract or bleach if placed directly in best high-light area. You can also use this system to determine what percentage of your target light level you want to use for your newly acquired coral. This ramps them up gradually as they would naturaly do upon being moved from a low light store tank to your own bright one at home. Most folks find it’s better to go slow by starting at 70% and slowly increasing over several weeks rather than putting it directly under full strength. That way the helpful algae has time to multiply instead of frying host tissue.
There are other variables that throw off your manual estimate, such as shade. What appears to be an open space turns out to be a big overhang with a shadow falling on the place you want to put frags. Enter the local shading input. There is a twenty or thirty percent decrease in effective PAR right at the mouth of coral due to physical obstruction. It’s not necessarily about being dark, but rather an uneven gradient that will have some portion of a colony growing lushly and others bleaching. By planning for the shade, you avoid common error of picking up corals when you think they’re looking a little pale, which stresses the animals more than leaving them in a slightly imperfect but stable position.
You should of also consider daily light integral when reading peak numbers. Moderate light for eight hours is more effective then a brief spike of high PAR at noon. To ensure that your lighting schedule matches the intensity levels, the calculator estimate the daily dose. Many reefers run excessively short light cycles. In an attempt to compensate for low output, they crank up their dimmers. This approach result in stressful peaks instead of healthy accumulation. A longer, gentler curve typically yields better color and more consistent extension than a harsh, short burst.
Lastly, using zones can help with long term planning. The depth shares divide up the tank into bands. Think of this as a reference. The top shelf isn’t just for high light species. It is also where flow should be highest to deliver nutrients and wash away waste. The lower areas aren’t just dark spots but instead refuge for corals that prefer gentle conditions. Working with physical features of each zone and matching its biology to the coral makes for a balanced ecosystem.
When you stop fighting your tanks’ natural gradients and work with them, you’ll notice better growth. The goal is not just to measure light, but to understand how it behaves in your specific environment by combining accurate measurements with thoughtful placement strategies. Accurate readings plus considered placement equals no more guesswork. No more corals placed where you thought they ought to be; they’re there because they belong there and they thrive because of it. Observation replaces assumption. The difference between a tank that struggles versus one that thrives.