Koi Color Genetics Calculator
Estimate simplified parent cross probabilities, carrier assumptions, expected fry distribution, and cull planning counts for koi ponds.
🐟Parent Cross Presets
⚗Cross Inputs
Expected Fry Distribution
📊Trait Signal Grid
🧬Parent Pattern Class Comparison
| Class | Red Signal | Sumi Signal | Best Planning Use |
|---|---|---|---|
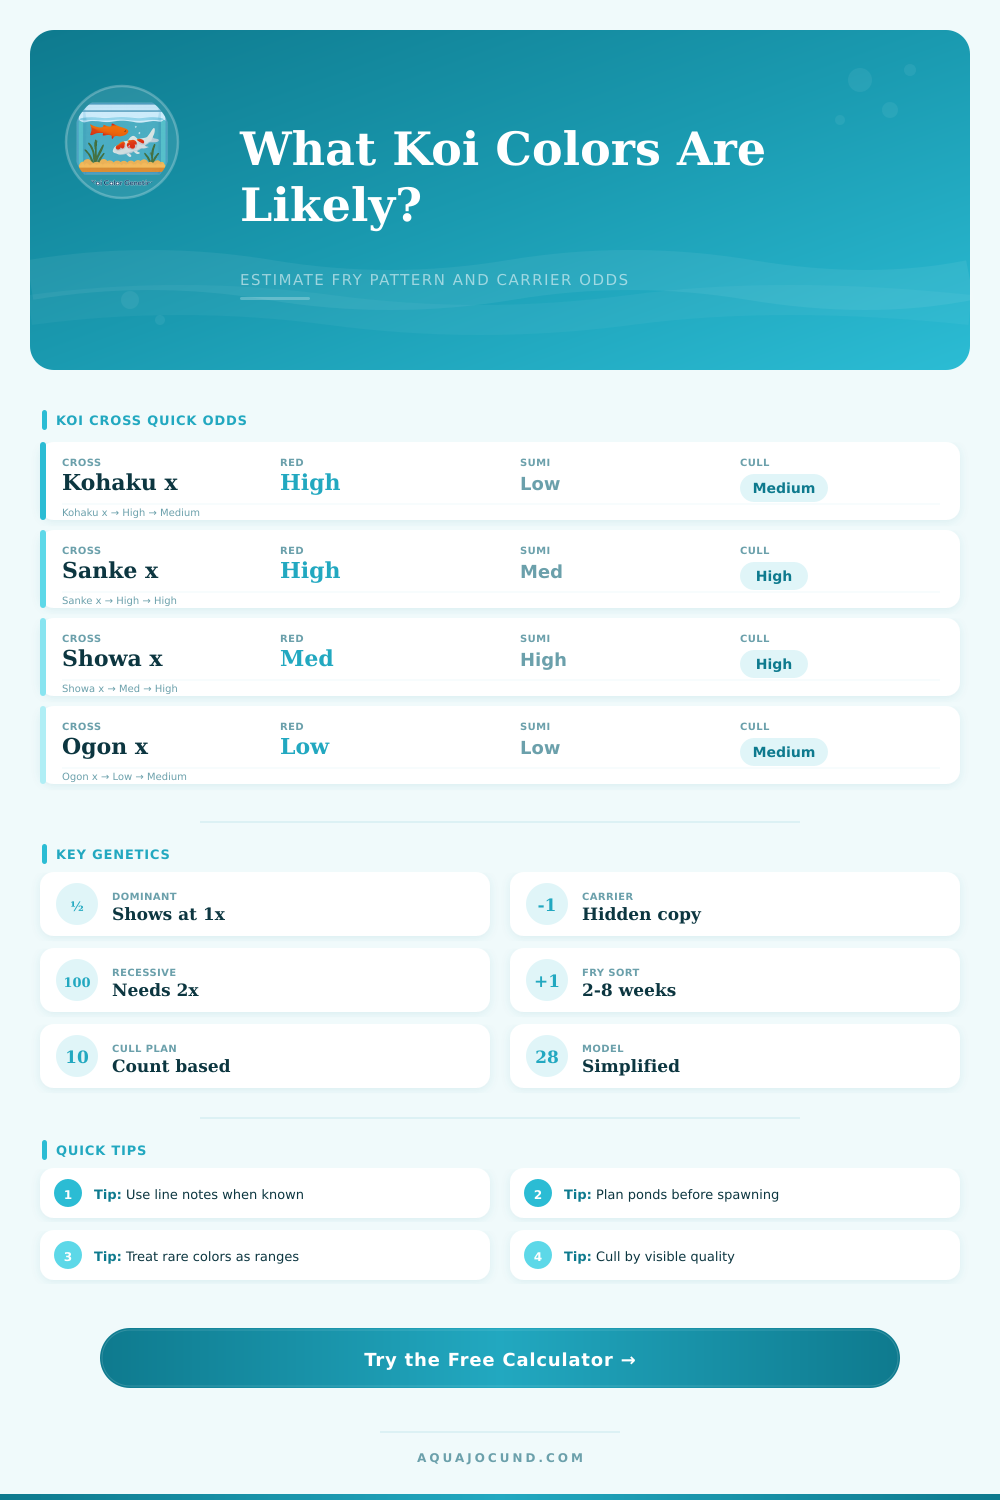
| Kohaku | High | Very low | Red-white selection, clean shiroji, low sumi expectations |
| Sanke | High | Medium | Red-white-black fry where sumi is usually secondary |
| Showa | Medium-high | High | Black-base pattern planning with bolder sumi sorting |
| Shiro Utsuri | Low | High | Black-white fry and red suppression assumptions |
| Ogon | Variable | Low | Metallic skin planning and single-color fry expectation |
⚖Dominant and Carrier Probability Table
| Assumption | Visible Trait | Carrier Fry | Use When |
|---|---|---|---|
| Fixed x fixed | 100% | 0% | Both parents consistently throw the visible trait |
| Fixed x carrier | 100% | 50% | One parent is fixed and the other has mixed records |
| Carrier x carrier | 75% | 50% | Both parents show or hide a dominant color signal |
| Carrier x clear | 50% | 50% | One parent is from a line with uncertain expression |
| Clear x clear | 0% | 0% | No visible or recorded signal in either parent line |
📋Expected Distribution Reference
| Result Class | Main Trait Mix | Early Sort Signal | Cull Planning Note |
|---|---|---|---|
| Kohaku type | Red plus white, low sumi | Clean white ground with stable red plates | Keep fewer fry if edges and white ground are weak |
| Sanke type | Red, white, controlled sumi | Sumi appears as smaller accent patches | Hold extra fry because sumi develops unevenly |
| Showa type | Black base, red, white | Strong sumi body placement and head involvement | Plan larger grow-out because early reads are uncertain |
| Metallic type | Hikari skin with simple color | Bright sheen, even head and scale reflection | Cull hard for dull skin and uneven sheen |
| Ginrin type | Pattern plus reflective scale rows | Even sparkle along the dorsal scale rows | Use a separate pass for scale alignment |
💧Cull Planning Table
| Fry Stage | Typical Keep Range | Primary Signal | Planning Action |
|---|---|---|---|
| First color sort | 10-30% | Visible pigment, deformity, vigor | Use the keeper rate input for pond count planning |
| Pattern refinement | 20-50% of keepers | Plate balance, sumi placement, white ground | Retain extra Sanke and Showa if space allows |
| Scale or skin pass | 30-70% of keepers | Ginrin rows, metallic luster, skin evenness | Sort metallic and ginrin fry under bright even light |
| Grow-out review | Final selection | Body, future pattern, stable color | Reserve pond space for slow-developing target fry |
When you begin koi breeding, you’re usually hoping for perfectly balanced colors; yet, as it happens, most of the time your genetics don’t align with your dream. Between what you have in the tank vs. What hatches, planning are key. Whether you pursue some rare line or spend big on stock, you are essentially shooting in the dark regarding which fry might make it, you don’t know how those traits mixs together.
If you input survival rates and your anticipated hatch size, calculator does all the math for you, so you don’t have to try to juggle multiple probability curves in your head. Koi color inheritance is not just about mixing red paint with white. Recessive genes hides in the shadows for generations while dominant ones immediately express themselves. However, the main players are benki red and sumi black… But those colors don’t always expresses when they’re just carried by one parent. If you breed together two fish carrying the same gene (as opposed to fully expressed) you’ll sometimes get a tank full of poor fry all of a sudden.
Plan Your Koi Breeding Before You Start
The tool assumes some things about whether your parents are fully expressed or merely carrying the gene you hope to pass down. It makes you face reality instead of crossing your fingers and hoping. Most folks starting out don’t know how much line stability can impact things. You’ve spent decades tightly selecting a breeder line. This will show more predictability in offspring then some random pair pulled off your buddy’s pond.
That stability multiplies into the calculator. If you’re raising closely related siblings (the good genes have already been culled), your chances is much better. Outcrossing or using unknown stock results in a downward change based off the model. It takes into account the increased likelihood of having something funky like deformity or weak patterns. This helps manage expectations until you actualy get those first fry.
New breeders gets tripped up by carrier risk. You may look at two apparently healthy fish and think they won’t have any problems producing babies together. However, you might discover one or both has a recessive trait you didn’t see before because it was never expressed. It then shows up in the next generation. With this tool, you can make an assumption regarding known carrier status. Then you can use it to guess how many of the resulting fry will be carriers but not show the undesirable gene yet.
Carriers dilutes your line over time. Knowing who they are lets you remove them early on which keeps the slow drop in quality from ruining your line in a few years. The truth is that, regardless of your hopefulness, you can’t raise all the fry. That’s where cull planning starts: where theory meets reality. How much do you want to keep? Your answer determines which grow-out ponds you’ll need, as determined by both pond capacity and your keeper rate.
That means making tough decisions well in advance; prior to birth. Do you want to keep only a few and risk missing out on those later-developing ones? Or, do you want to overstock and stunt everyone’s growth? Every serious breeder should of negotiate this potential vs. This is a dilemma about space.
On the page, signal reference tables break down what typical patterns look like for each class of pattern. This is a good tool when sorting out fish at first glance. For example, Kohaku fry tend to have solid red plates over a stable white ground which are easier to pick up quickly. The Showa types can be more difficult as they may develop the black sumi in an uneven fashion or late. You need some time and additional grow-out pond space for this.
Knowing how patterns should develop will keep you from throwing away potentially great fish too soon. It’s about learning to go with the flow versus responding to momentary color changes. Koi breeding is part science; part art. Discipline is also part of that equation.
The calculator provides a way for organizing the “what ifs” and the probabilities. It doesn’t promise show quality winners. But it eliminates the guessing game when allocating resources. Knowing approximately what’s coming out in terms of traits and how many fry will fill up your ponds allows you to focus on watching the fish. There is no need to worry about whether you have too much capacity or not.
Good breeding means making good decisions even when you have limited data. This tool just makes seeing those decisions clearer before the first egg are laid.