Reef Phosphate Dosing Calculator
Estimate a cautious phosphate stock dose from reef water volume, current and target PO4, stock strength, adsorption loss, daily cap, and nitrate to phosphate balance.
🧪Reef Phosphate Presets
📐Volume, PO4 Target, Stock, and Safety
Reef Phosphate Dose Result
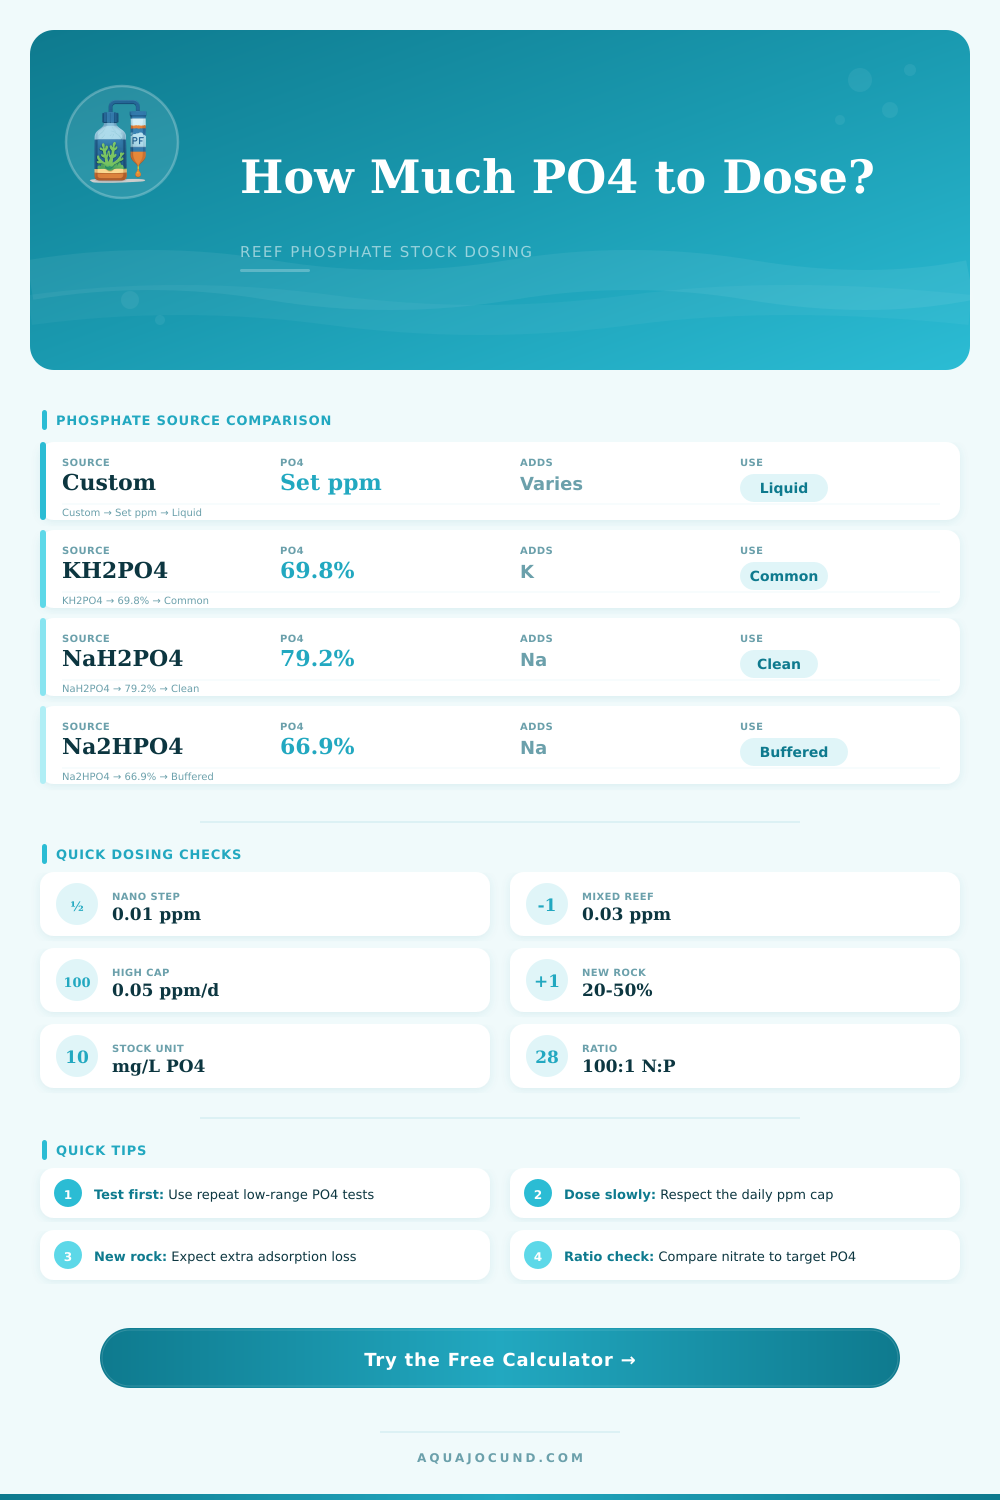
⚖Phosphate Source Comparison Grid
📊Dry Salt Strength Reference
| Stock source | Formula basis | PO4 fraction | Side ion estimate |
|---|---|---|---|
| Custom liquid stock | User-entered PO4 mg/L | 100% as entered | Depends on product |
| Potassium phosphate | KH2PO4 | 69.8% PO4 | 28.7% potassium |
| Monosodium phosphate | NaH2PO4 | 79.2% PO4 | 19.2% sodium |
| Monosodium phosphate hydrate | NaH2PO4.H2O | 68.8% PO4 | 16.7% sodium |
| Disodium phosphate | Na2HPO4 | 66.9% PO4 | 32.4% sodium |
| Trisodium phosphate | Na3PO4 | 57.9% PO4 | 42.1% sodium |
🔬PO4 Target and Daily Cap Guide
| Reef posture | Typical PO4 range | Cautious cap | Calculator note |
|---|---|---|---|
| Ultra low nutrient recovery | 0.01 to 0.03 ppm | 0.01 ppm/day | Retest after each small step |
| Mixed reef maintenance | 0.03 to 0.08 ppm | 0.02 to 0.03 ppm/day | Good default range |
| LPS or soft coral feeding | 0.05 to 0.12 ppm | 0.03 to 0.05 ppm/day | Watch algae trend |
| New rock adsorption | Variable | 0.01 to 0.03 ppm/day | Use higher loss percent |
📏Common Reef Size Planning
| System size | Net water estimate | 0.03 ppm PO4 need | 1000 mg/L stock dose |
|---|---|---|---|
| 20 gal nano | 60 to 70 L | 1.8 to 2.1 mg PO4 | 1.8 to 2.1 mL |
| 40 breeder reef | 120 to 145 L | 3.6 to 4.4 mg PO4 | 3.6 to 4.4 mL |
| 75 gal mixed | 240 to 285 L | 7.2 to 8.6 mg PO4 | 7.2 to 8.6 mL |
| 125 gal system | 400 to 475 L | 12.0 to 14.3 mg PO4 | 12.0 to 14.3 mL |
🧮Dose Review Checks
| Check | What to compare | Warning sign | Adjustment |
|---|---|---|---|
| Low range test | Same kit and same time | Zero after dosing | Raise loss estimate only |
| Daily cap | Planned ppm per day | Above selected cap | Extend days to target |
| N:P ratio | NO3 divided by PO4 | Very high ratio | Target more PO4 slowly |
| Side ions | K or Na added by salt | Repeated large dosing | Change stock source |
Have you ever gazed into a reef tank with pristine water and thought it look empty? That can be nerve racking for reef hobbyists who has been monitoring their alk levels, battling diatoms, and seeing coral retract in defeat. The problem lies somewhere between these two extremes: Phosphate. Not enough phosphate will deprive your livestock, while too much phosphate will result in an algae outbreak, destroying your viewing pleasure.
Once you input your targets and volume into the calculator (above), the numbers does all the work for you… no more guessing on conversions and coefficients. Knowing what they represent is equally critical though; you don’t want to get the number correct without understanding its meaning. Did you know the labeled tank capacity in gallons does not equal net water volume? When you consider things like the water displaced by rocks, the depth of sand, and the reserve capacity in sumps, you may find your “seventy-five” gallon show tank only holds sixty liters of water. Dosing based off gross tank size (as listed on labels) instead of net reef water volume guarantees an overdose each time. This seemingly minor calculation mistake will cost your patience and wallet.
How to Use the Phosphate Dosing Calculator
The tool requests net reef water volume because phosphate concentration is measured in milligrams per liter of actual space it occupies. Finally, we have that unseen sink called adsorption loss. Before any phosphate makes its way to your corals, it could of being absorbed by fresh dry rock, new filter media, or even some old ceramic rings. That’s why you may add a calculated dose only to find that your test kit shows no change at all. To prevent this from tricking you into believing the phosphate somehow dissapears into thin air, the calculator has an input for this binding percentage. Uptake in new rock systems can be substantial in the first few weeks. Therefore, your initial doses will need to be higher than subsequent maintenance doses.
Don’t underestimate the importance of your choice of phosphate source. Hobbyists typically reach for whatever monopotassium phosphate they have handy and move on. But each of these chemical salts has its own side effects. For example, potassium phosphate also provides potassium. Good thing, whereas sodium-based salts will skew your alkalinity (a little) or salinity (more if you dose a lot). Want to account for purity? Each of those compounds contains a certain fraction of actual phosphate. Know what’s in the bottle by knowing this information (it’s all in the reference table on the page). It is basic chemistry, but it helps avoid accidentally swinging other parameters and stressing sensitive polyp.
There’s more than safety behind the daily cap. Nutrient spikes cause fast growing bursts with nuisance algae, and they can also initiate a bleaching event on stressed coral colonies. To allow corals and their beneficial bacteria time to adjust, we want to keep the increase at only a fraction of a ppm per day. The calculator ensures this by dividing the needed dose into as many days as it takes to reach your target level. This prevents you from force-feeding the entire dose into the tank all at once which might be tempting if your target is much higher then your starting point. Stable water chemistry rewards patience.
That leaves us with nitrate balance which rounds out the picture since phosphate isn’t alone. Both phosphates and nitrates is necessary for corals and algae, though they need to be balanced in certain proportions. So what happens if you have a phosphate deficiency and yet high nitrate? You are favoring diatom or cyanobacteria growth over healthy coral growth. Mass ratio lets you know whether you’ve corrected one nutrient deficiency while neglecting another. Many systems fail because they’re lean (with very little nutrients), but it’s not from lack of food, it’s because there’s too much of the wrong kind.
While arithmetic plays a role in dosing, so does observation. What works well for one test kit may not be accurate in another. Even then, the same kit might produce different results depending on how samples are handled and/or what temperature they’re at. Consider the calculator a starting point and allow frequent tests with your eyes to provide adjustments. If your corals don’t like the new numbers, observe them until they adapt. Then don’t make any more tweaks just yet. The objective isn’t perfection; it’s to achieve stable conditions.
Once you arrive at that sweet spot, when your livestock are thriving while the water remains clear, then you’ll understand that thoughtful dosing wasn’t about reaching some moddern arbitrary numerical target. Rather, it was about establishing a consistent pulse that sustains life while avoiding a flood.